Yoga poses for stress relief, physical, and mental health are great for anyone. Whether you are looking forward to losing weight, boost energy, relieve back pain, relieve stress, or aiming at overall physical and mental fitness, Yoga is your best option.
Yoga is a powerful tool that can help you manage stress, boost energy, lose weight, and induce positive thinking. Yoga is a form of exercise that combines physical poses, breathing exercises, and relaxation. It’s especially helpful in managing stress because it promotes a relaxation response.
Physical and mental benefits of yoga include body strength, endurance, flexibility, breathing control, self-awareness, and concentration. Other benefits include fewer I.B.S. symptoms, less depression, improved sleep patterns, and a stronger immune system. You can check this list of 25 physical and mental benefits of yoga for better understanding.
Yoga has been used to help alleviate and heal many conditions, stress, injuries, and back problems for centuries.
A research study conducted by the Department of Health, Exercise Science and Recreation Management, The University of Mississippi, The Center for Health Behavior Research shed more light on the therapeutic effects of yoga and its ability to increase the quality of life.
Another great dimension to Yoga is, that it beautifully combines relaxation with physical exercises. You don’t need to spend hours practicing or sweat buckets to make yoga work for you. A half-hour daily practice will do all the wonders.
So, to reap all the amazing physical and mental health benefits, sparing 30 minutes of your day for all the amazing benefits yoga has to offer, in fact, is an investment worth making.
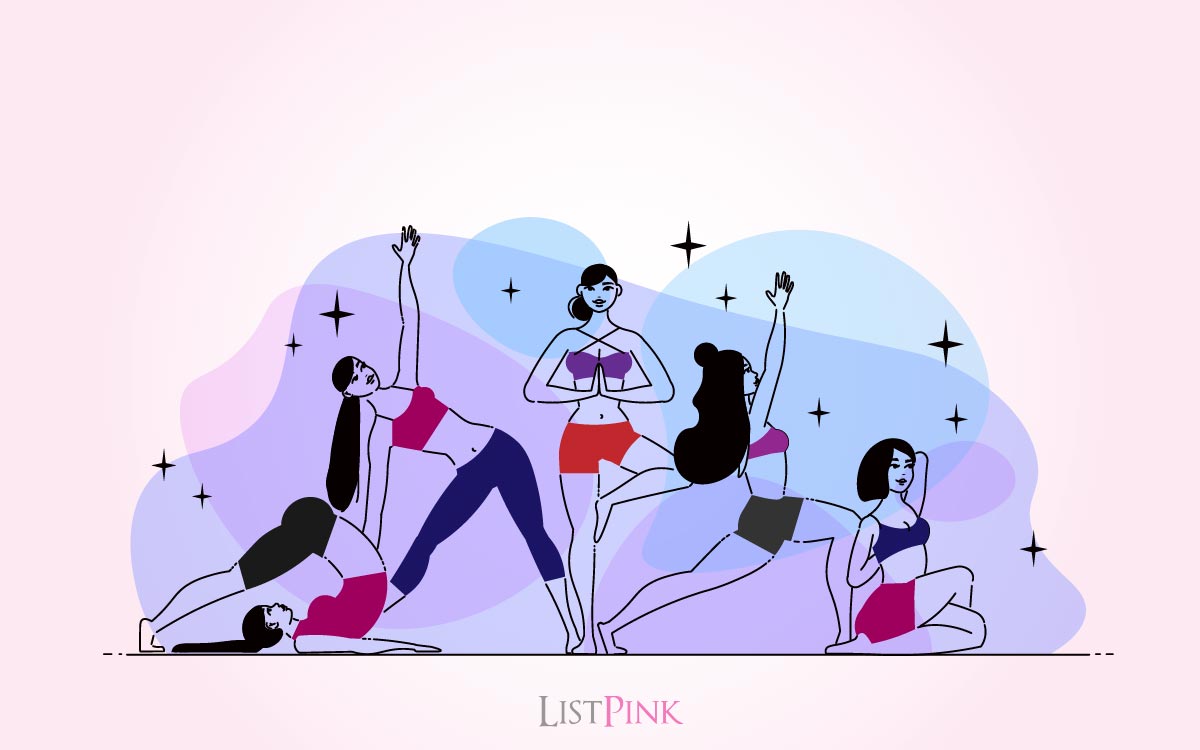
Yoga Poses For Beginners
If you are new to yoga, don’t worry! We’ll work on some basic poses that will help you get started. The yoga poses for beginners are meant to get you familiar with each pose, so that you can eventually move on to more advanced poses. These poses are easy to do, and you can do them at home or in your local yoga studio.
So, let’s start with our 8 beginner’s yoga poses.
1. Easy Pose (Sukhasana)
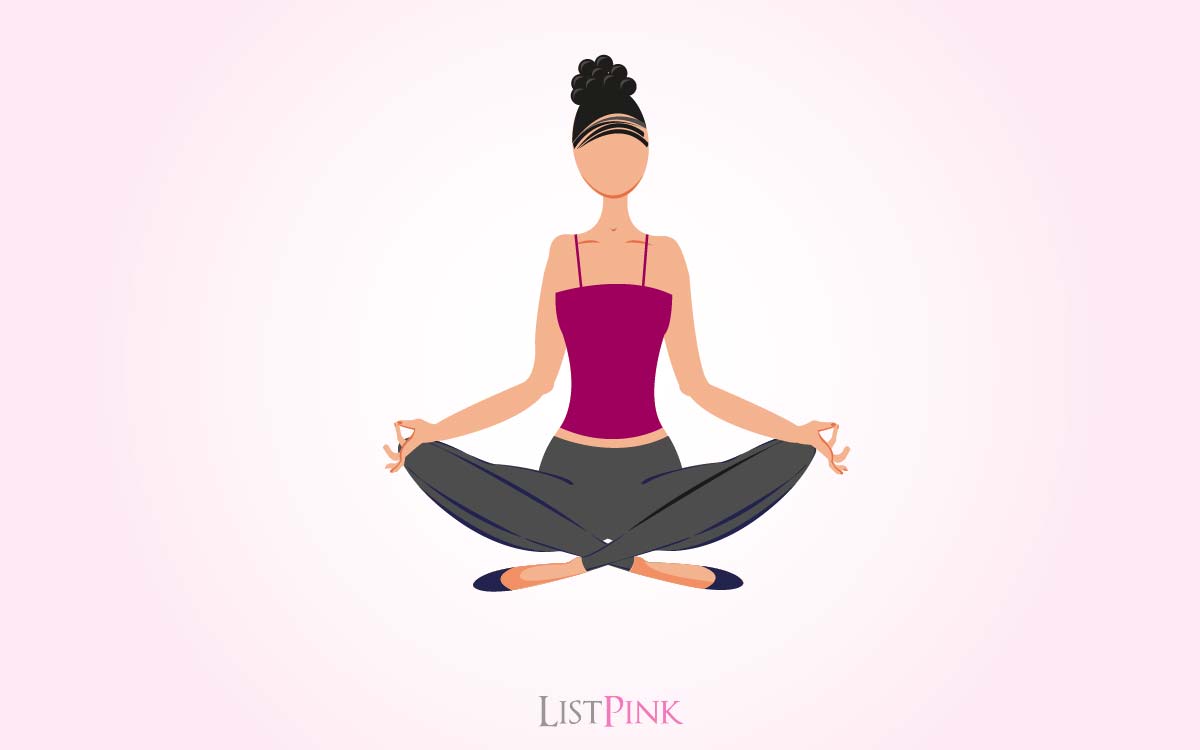
Easy Pose is a great seated forward bend that will help you get ready for your day. It is a very calming pose and is excellent for beginners.
How to do:
- Sit down on the floor with your legs together.
- Bend your knees and place your feet on the floor.
- Lean forward and put your hands on the floor in front of you.
- Hold for 5-10 breaths then repeat.
2. Mountain Pose (Tadasana)
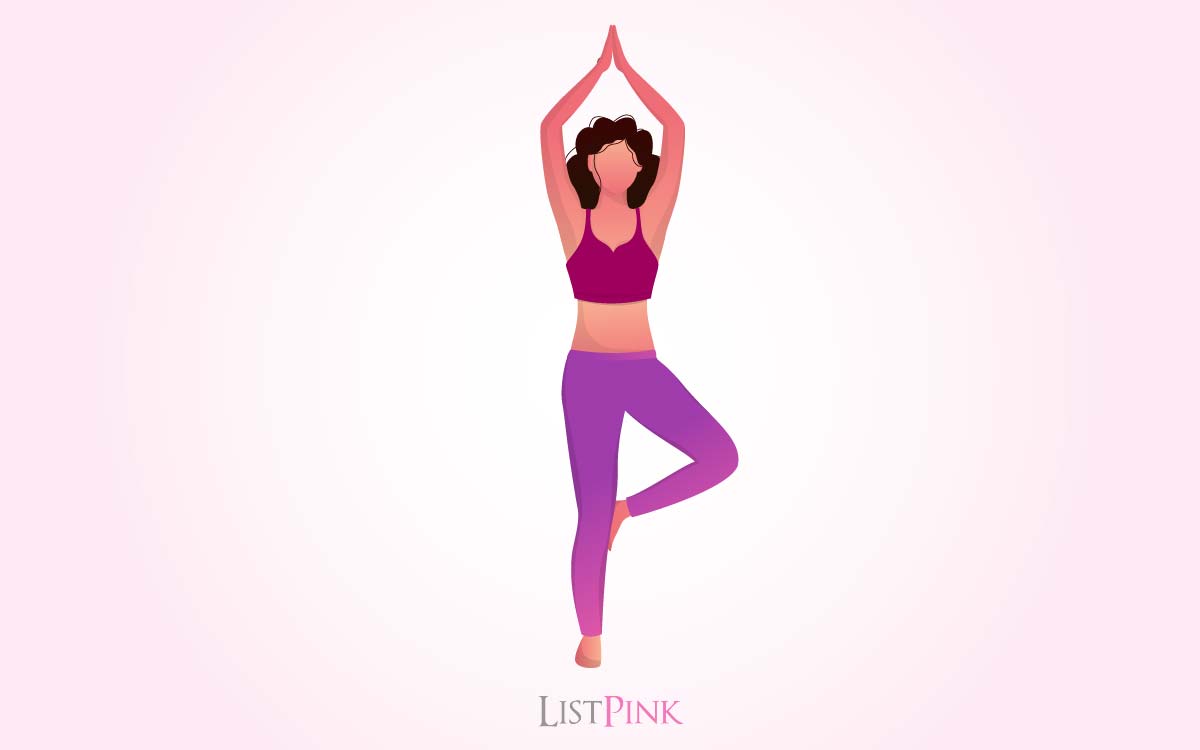
Mountain is a simple standing pose that everybody can do. The basic standing balance requires you to stand on one foot with the other foot raised. It is one of the most common yoga poses and can be adapted to be a more challenging standing balance.
How to do it
- Start with your feet together and raise your left foot.
- With your hands in prayer position, find a spot in front of you that you can hold in a steady gaze.
- Hold and breathe for 8-10 breaths then change sides.
- Make sure you don’t lean in to the standing leg and keep your core engaged and shoulders relaxed.
3. Downward Facing Dog (Adho Mukha Svanasana)
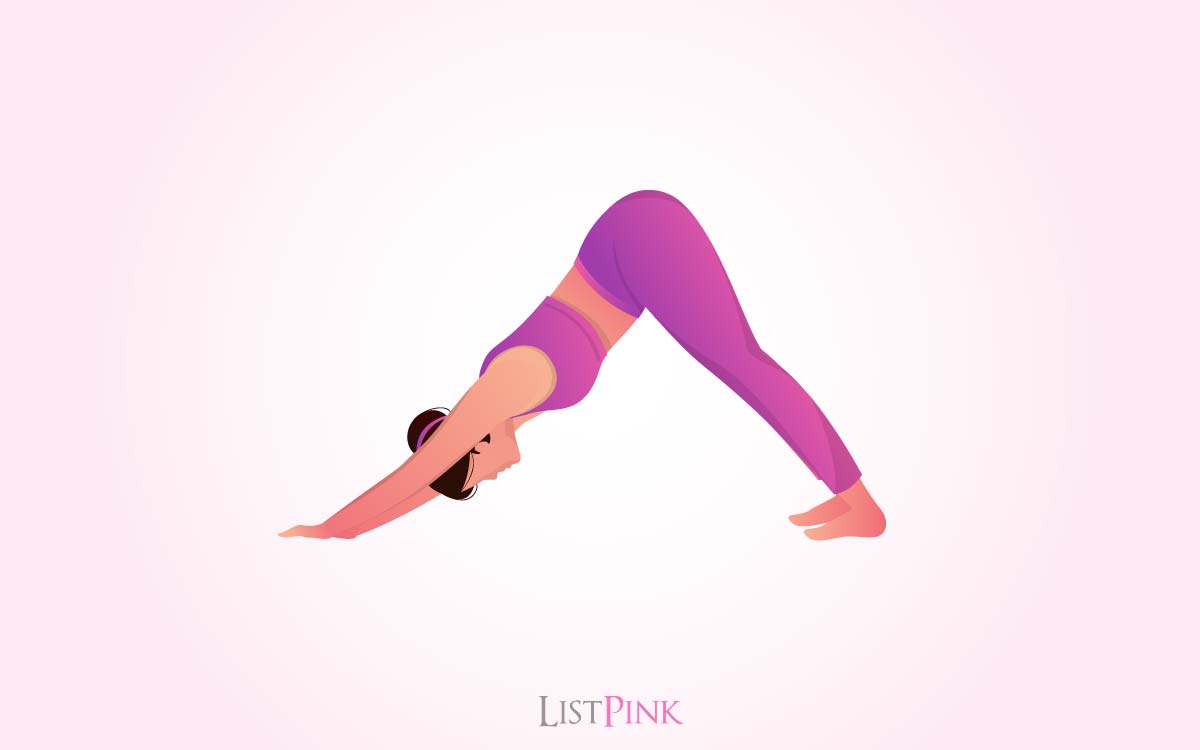
The downward-facing dog is a basic yoga pose that offers many benefits and is great for beginners. It builds strength in the legs, back, and shoulders and stretches the hamstrings, calves, chest, and shoulders. It is also a resting pose that helps with fatigue, stress, and anxiety.
How to do it
- Start on all fours with your wrists directly under your shoulders and your knees directly under your hips.
- Lift your heels off the ground and push your hips up.
- Reach your heels forward and release your head back.
- Hold for 5-10 breaths
4. Child’s Pose (Balasana)
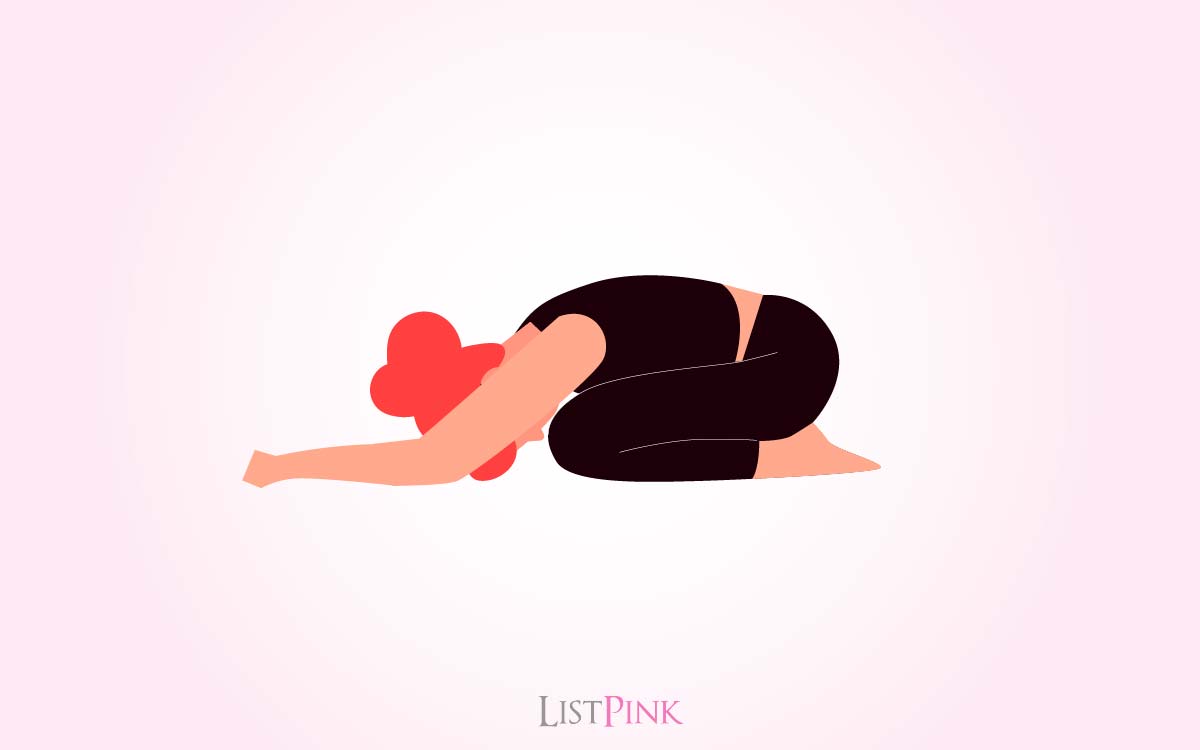
The child pose is an excellent resting pose to do after standing balance poses. It is a wonderful pose to do after a long day or after sitting at a desk all day. The pose is a balance that requires you to find your center and stay grounded. It is a great pose to transition to after a good stretch or other active standing balance poses.
How to do it
- Starting on all fours, step your left foot between your hands.
- Sit back on your heels and rest your forehead on the mat.
- Hold for 10-30 seconds and release.
5. Cat Pose (Marjaryasana)
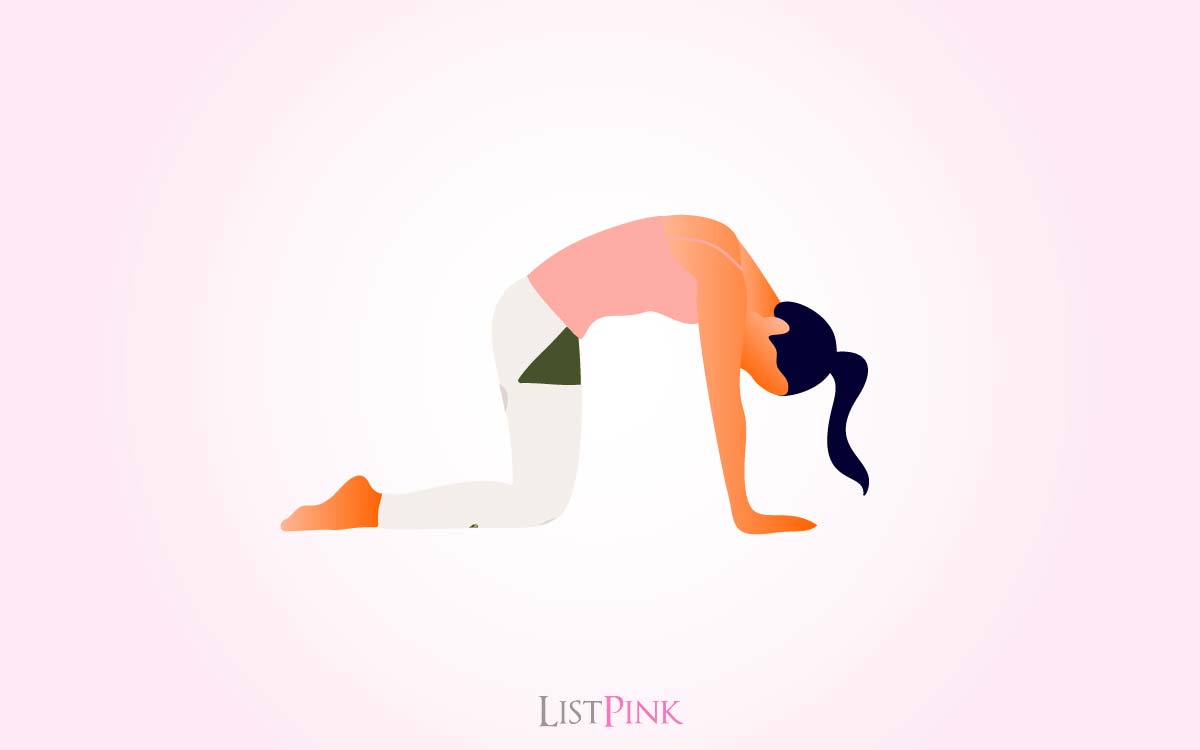
This is a great stretch for the spine and shoulder girdle. It is also good for the wrists. This pose also increases the flexibility of the spine.
How to do it
- Begin on your hands and knees with your back straight and your head facing forward.
- Then rest your forehead on the floor with your hands to the sides, palms up.
- On an exhalation, arch your back and lift your chest toward the ceiling.
- Raise your head, tuck your chin, and look down toward your navel.
- Press your hands into the floor and press your hips toward the ceiling.
- Hold for 1 to 5 breaths.
6. Yoga Poses For Stress Relief: Corpse Pose (Savasana)
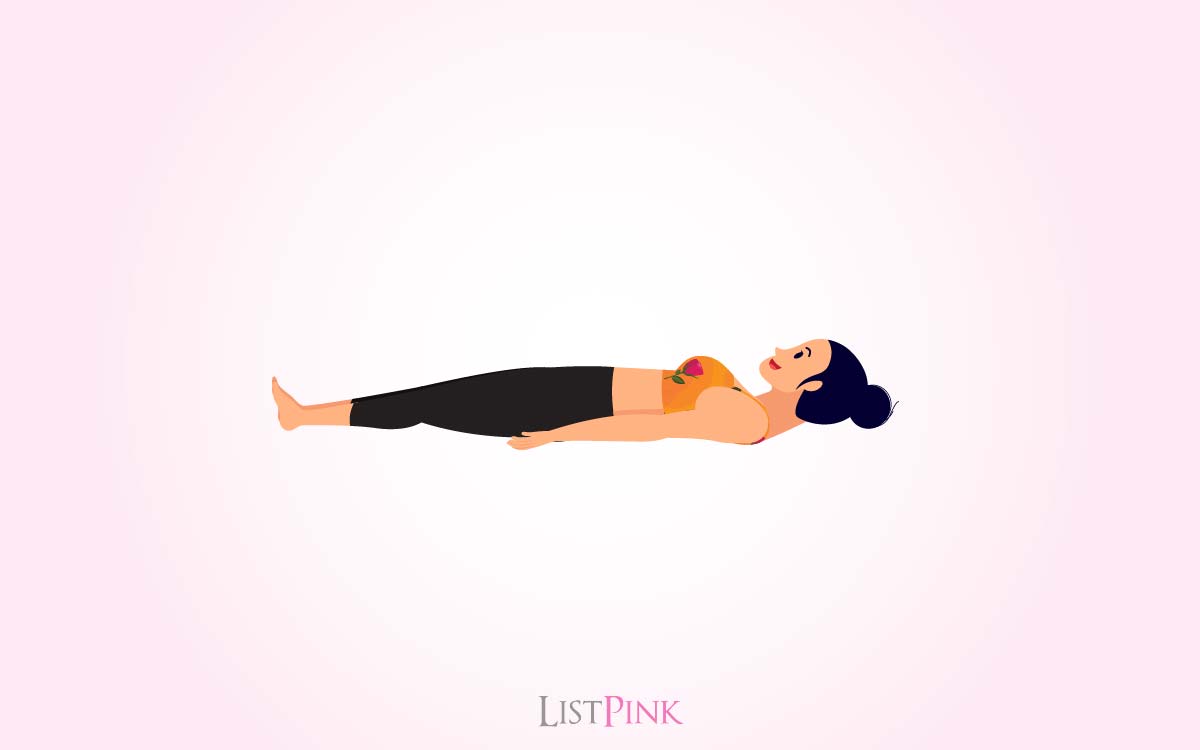
The corpse pose is the final position practiced at the end of a yoga class, it is a rest pose that is meant to enable the body to relax. When practicing corpse pose, it is okay to let go. Relaxation is the goal.
How to do it
- Lay on your back on your mat.
- Your legs should be flat on the mat and your arms at your side, palms facing up.
- Close your eyes and let your breath flow naturally.
- Listen to your breath as you breathe in and out.
- Hold for 5-10 breaths or until you feel ready to get up.
7. Four-Limbed Staff Pose (Chaturanga Dandasana)
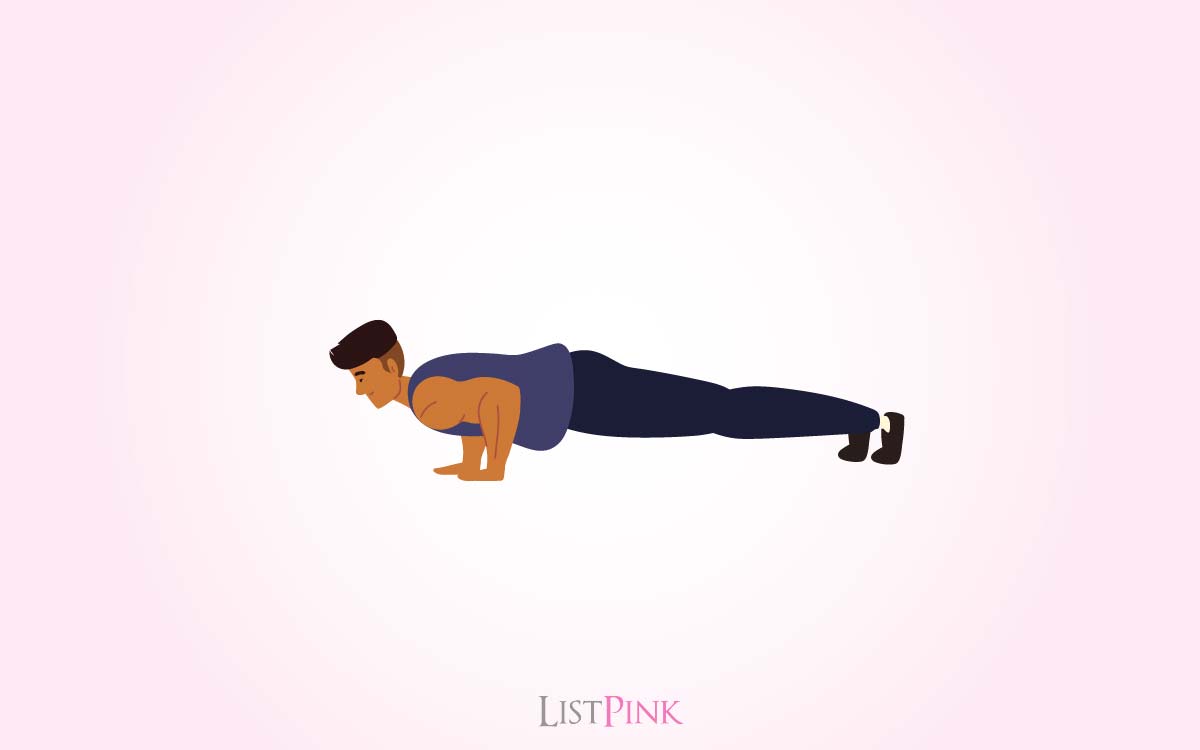
This is a very common pose and is one of the first poses that you learn in yoga practice. This pose is often used as a transition between other poses, such as downward-facing dog, or as a resting pose. This pose is a great stretch for the shoulders and arms, and it improves your balance.
How to do it:
- Come onto the floor on your hands and knees.
- With your hands slightly forward of your shoulders and knees below your hips.
- Spread your hands wide and press your index finger and thumb into your mat.
- Exhale, and lift your knees away from the floor, then lift your hips toward the ceiling.
- Straighten your legs as much as you can and press your heels gently down toward the floor.
- Straighten your arms fully and take your head between your arms.
- Hold for 5-10 breaths.
8. Cobra Pose (Bhujangasana)
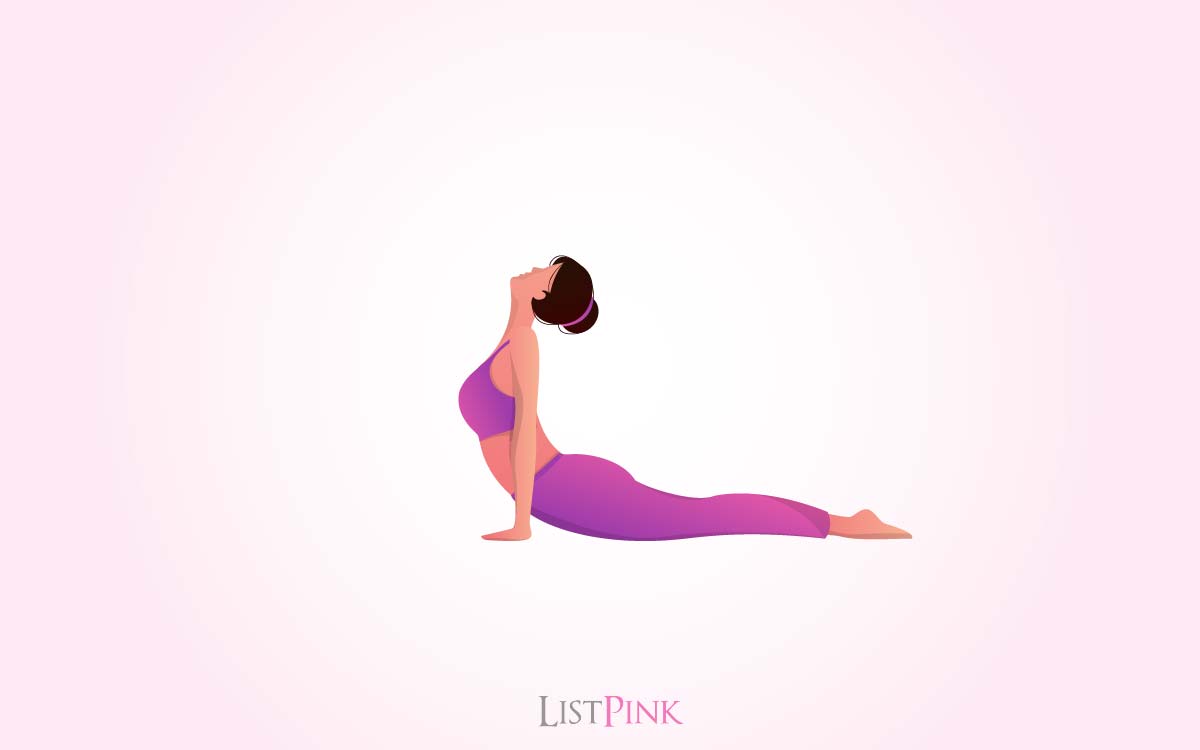
Cobra pose is great to do when you’re feeling flat in the morning. It stretches and strengthens the back muscles and improves posture. It also helps to relieve tension in the back, chest and neck.
How to do it:
- Begin lying on your belly with your hands by your side.
- Put your palms on the ground and push your hands into the ground to raise your upper body and chest.
- Keep your shoulders relaxed.
- Keep your abdominals engaged.
- Hold for 5-10 breaths and repeat.
Related: Right Yoga Equipment: 10 Great Pieces of equipment for Yoga and At-Home Workouts
Intermediate Yoga Poses
Once you become a work through the beginner sessions, you might be ready to take on some of the more advanced yoga poses, which are known as asana, the Sanskrit word for “posture.” The poses described in this section are fairly easy to accomplish, but feel free to consult a yoga teacher if you have questions about doing them correctly.
1. Half Moon Pose (Ardha Chandrasana)
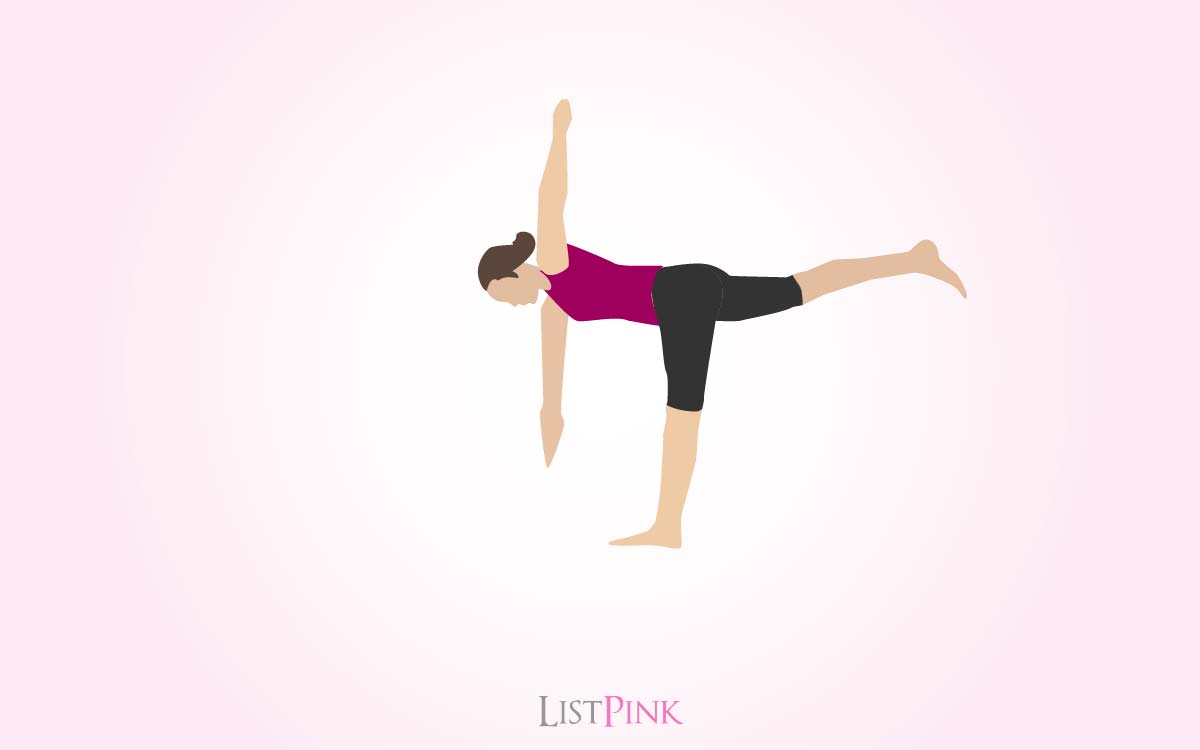
Half-moon is a standing balance pose that can be practiced by everyone. This balancing pose is a good way to start building confidence and strength in the lower body and core. It is a great pose to do on its own or before doing a standing balance pose that requires the raised leg to be lifted higher.
How to do it
- Start in mountain pose with your hands in prayer.
- Raise your left hand up and bend your right knee.
- Hold for 5-10 breaths then repeat on the other side.
- Make sure you keep your abdominals engaged and your shoulders relaxed.
2. Yoga Poses for Fitness: Big Toe Pose (Padangusthasana)
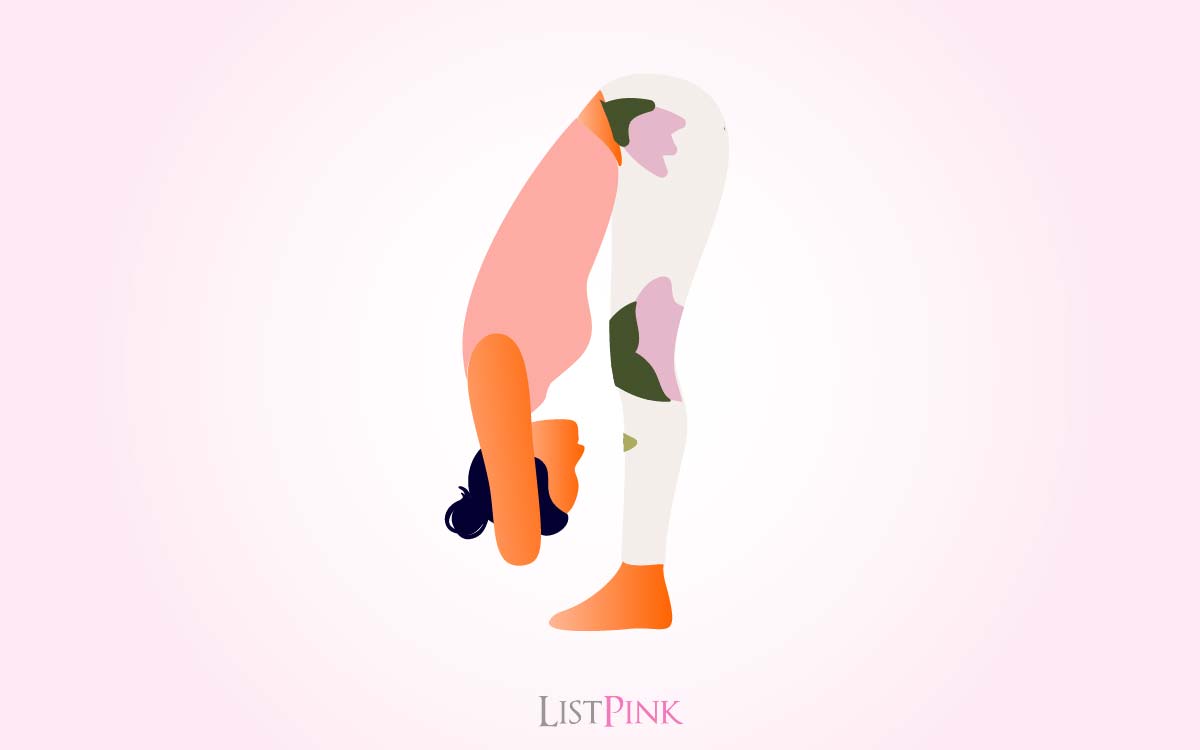
This pose is a yoga pose for forwarding leg, hip, and spine flexibility. It can also help with knee, hip, and shoulder alignment. This pose is a great pose for anyone who needs to increase flexibility. People with bad knees may not be able to do this pose.
How to do it
- Begin by standing with your feet parallel and hip-width apart.
- Stretch your arms out to your sides at shoulder level.
- Inhale and lift your left foot off the floor.
- Reach your left foot across your body to your right inner thigh.
- Bend your right knee a little bit to bring the sole of your foot to the floor.
- Tuck your tailbone under.
- With each inhale, lengthen your spine, and with each exhale, grow a little bit taller.
- Hold here for 10 breaths.
- Release your foot and switch legs.
- Repeat on the opposite side.
3. Bow Pose (Dhanurasana)
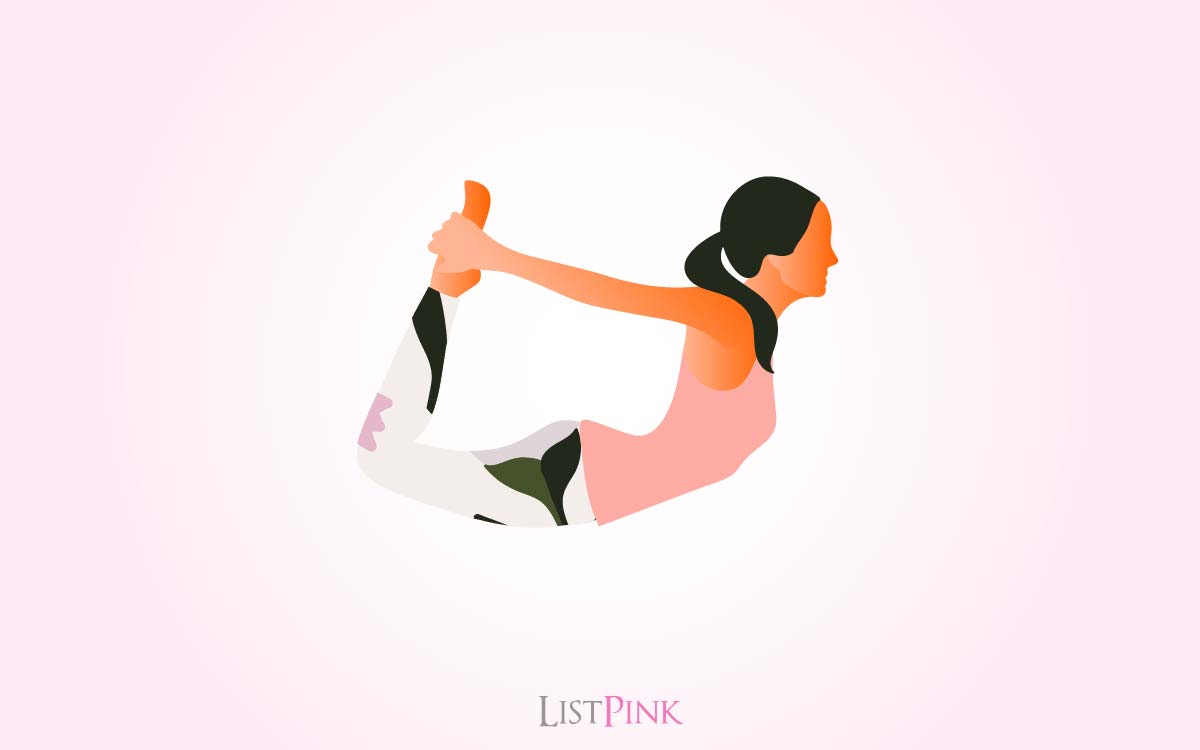
This pose opens up the shoulders and chest, stretches the back and the front of the body. It is a great pose to open the chest and stretch the back.
How to do it
- Begin by lying face down on your mat.
- Stretch your arms out in front of you with your palms flat on the floor.
- Bend your knees and place your feet flat on the mat.
- Kneel on the floor behind you.
- Grab hold of the back of your ankles.
- Keep your knees together and slowly pull your chest and head as close to your ankles as you can.
- Hold for 5-10 breaths.
4. Pigeon Pose (Eka Pada Rajakapotasana)
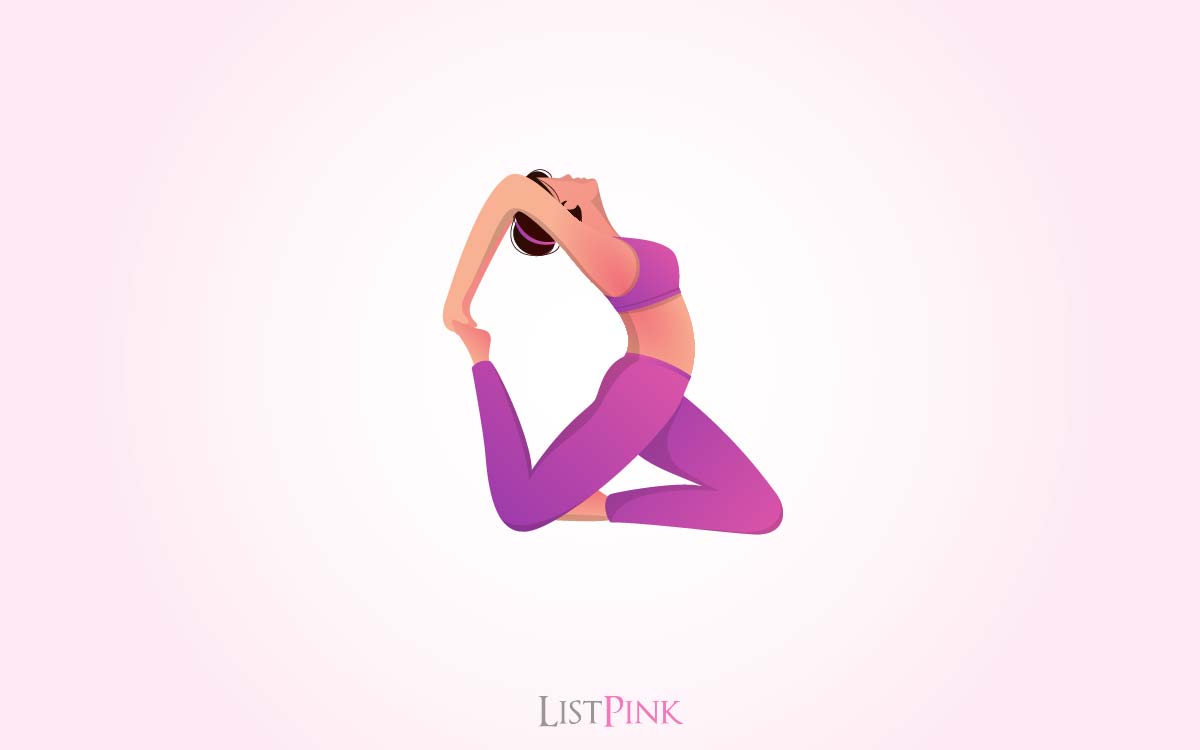
The Pigeon pose is a basic yoga pose where the student grabs the opposite knee of the leg extended back and stretches the hamstring. It is used to open the hips and stretch the back.
How to do it
- Come onto the floor on your hands and knees.
- With your hands slightly forward of your shoulders and knees below your hips.
- Spread your hands wide and press your index finger and thumb into your mat.
- Inhale and lift your right leg up so it is parallel with the floor and bring the knee to the floor and press it into the mat.
- Straighten your leg and exhale as you press your hips forward and bring your body upright.
- Press your hands firmly on your mat and lean forward from your hips, arching your back.
- Bring your left knee to the floor under your left arm, and slide your left knee to the right, until your right leg is in a pike position.
- Bring your left heel to the floor and roll on your back until your left leg is extended.
- Reach back with your right hand and grab your right heel.
- Hold for 5-10 breaths.
- Repeat on the other side.
6. Lunge Pose (Anjaneyasana)
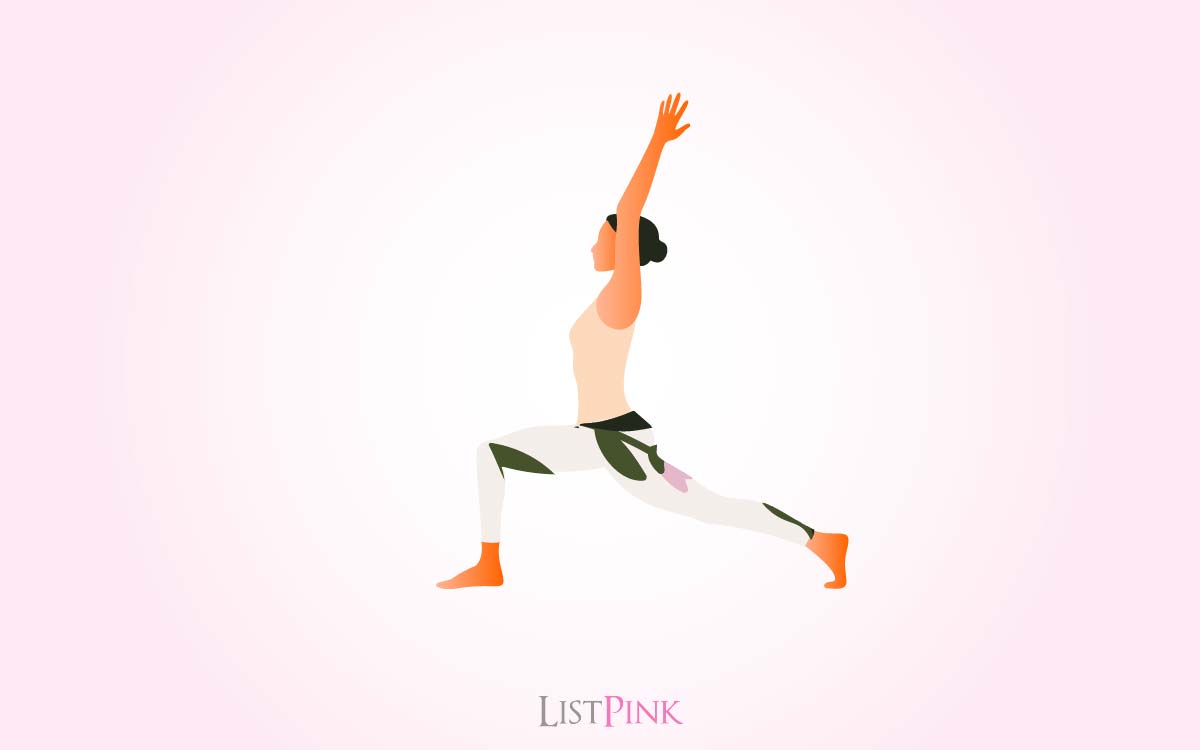
A great pose for stretching the hips and thighs, this pose will give you a great stretch in your gluteals and quadriceps.
How to do:
- Stand with your legs together and your arms by your sides.
- Step your right leg back, and bend your left knee, so that your left foot is flat on the floor and your right knee is on the floor.
- Keep your torso upright and your shoulders pulled back.
- Bend your right knee until it rests on the floor, and lower your left elbow to the floor.
- Lean slightly forward to stretch your right thigh, and keep your hips level.
- Hold for 5-10 breaths.
7. Feathered Peacock Pose (Pincha Mayurasana)
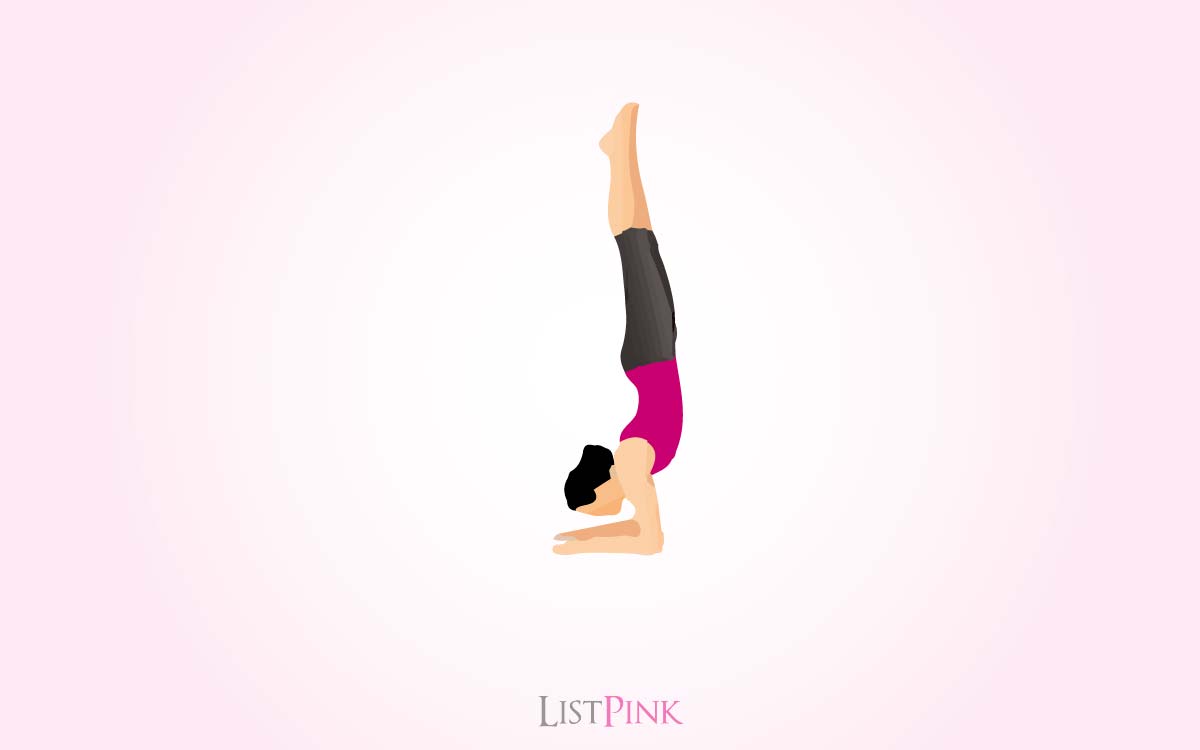
This pose tones the abdominal muscles, arms, and shoulders. It stretches the chest, shoulders, and back.
How to do it
- Start on your hands and knees.
- Stretch your right leg back and lean forward.
- Your hands should be shoulder-width apart.
- Lift your chest and look up at your hands.
- Keep your hips square, and keep your left arm straight.
- Hold for 5-10 breaths.
- Switch sides.
8. Boat Pose (Navasana)
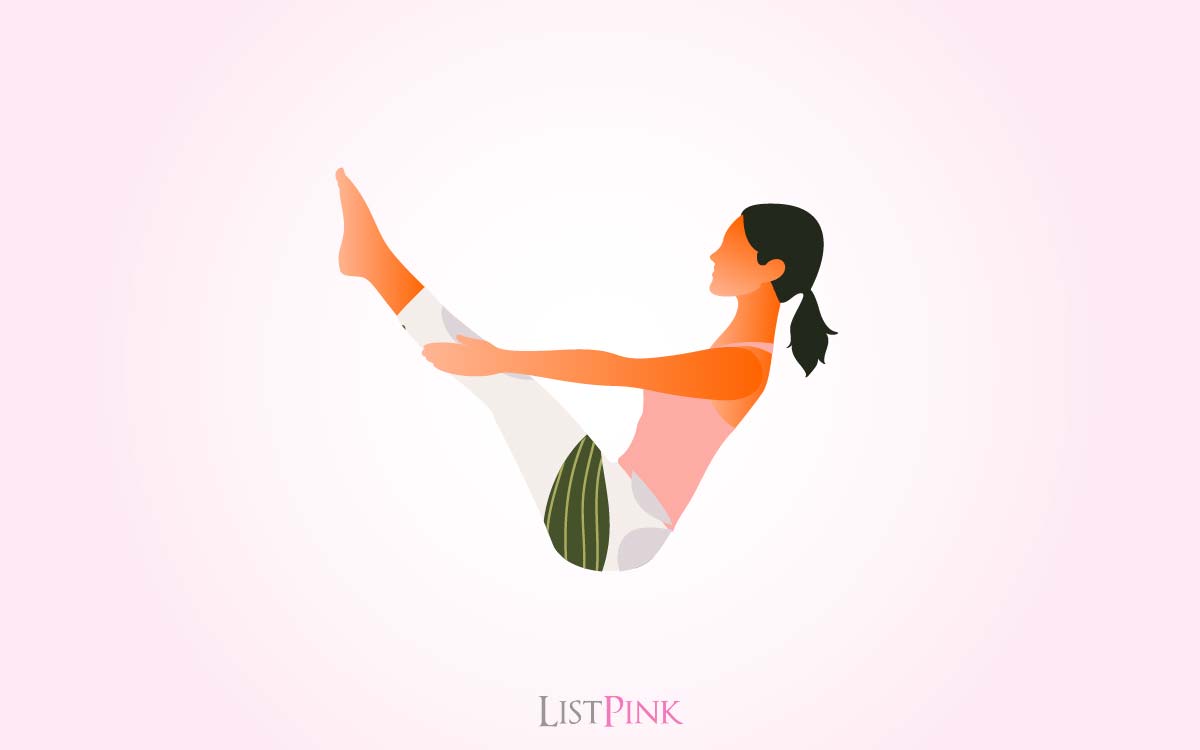
A great pose for stretching the stomach and strengthening the back muscles.
How to do:
- Sit on the floor with your legs extended out in front of you and your knees bent.
- Exhale, and lift your feet off the floor, balancing them on your knees.
- Lift your shoulders off the floor, and reach your arms back, palms facing the floor.
- Hold for 5-10 breaths.
9. Eagle Pose (Garudasana)
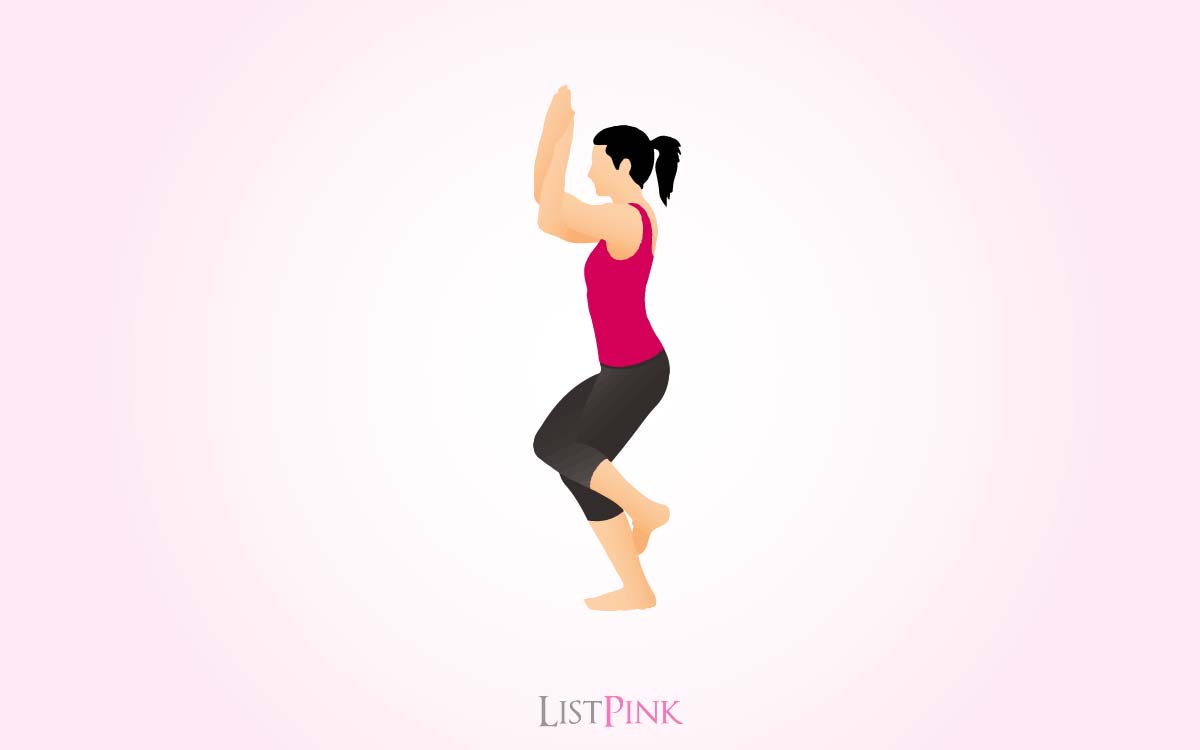
The Eagle pose is a great way to stretch out the legs and open the hips. This pose also strengthens the shoulders and upper back.
How to do:
- Start in mountain pose and bring your hands in front of your chest.
- Slowly place your right hand on your left shoulder and your left hand on your right shoulder.
- Turn your chest towards the right side.
- Keep your feet together and your knees and toes pointed forward.
- Hold for 5-10 breaths then repeat on the other side.
- This is a great pose to do after a long day of sitting.
- This is also a great pose to do after a long run or workout.
- If you’re a beginner, it is ok to stay in the top position for the entire time.
- If you are more advanced, you can lower your body to the ground and hold the pose.
10. Dolphin Pose (Ardha Pincha Mayurasana)
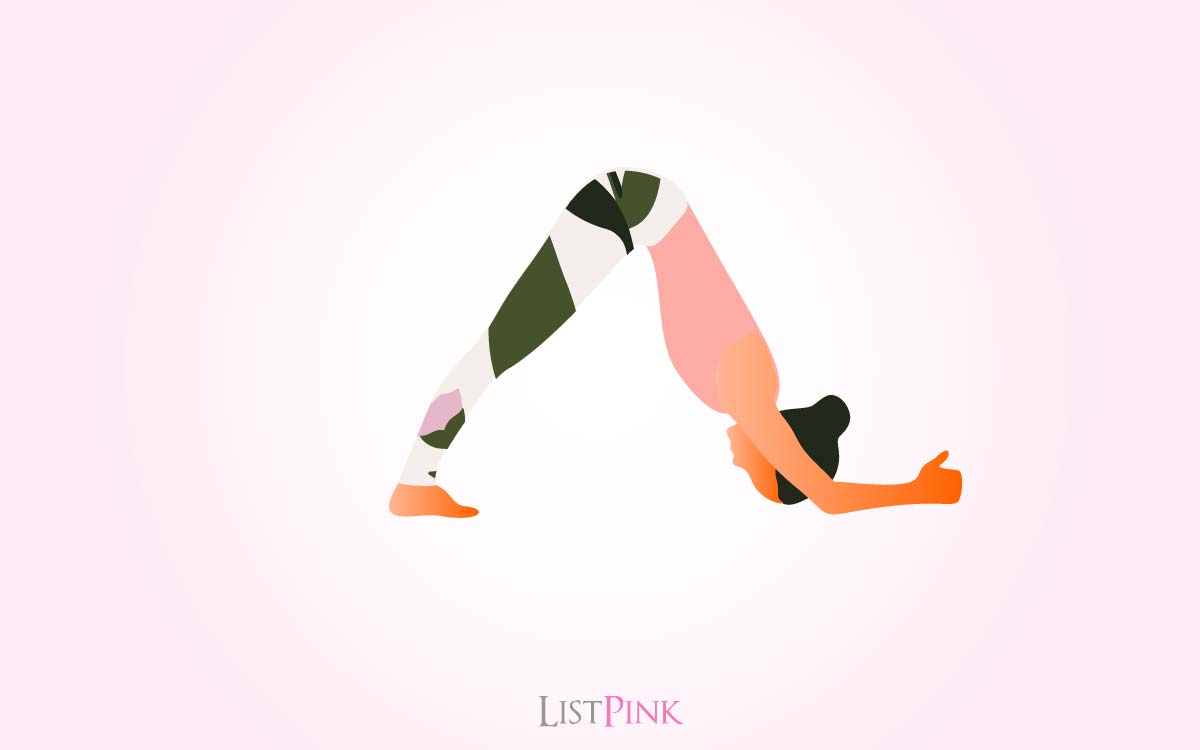
Dolphin pose requires a lot of flexibility in the hips and shoulders, but once you have mastered it you will feel stronger and more confident in your own body.
How to do:
- Start in the downward-facing dog.
- Lift your left leg up so that your left foot is touching your right hand.
- Bend your right knee and bring your right foot up to your right hand.
- Make sure to keep your abdominals engaged and your shoulders relaxed.
- Hold for 5-10 breaths then repeat on the other side.
- If you can not get all the way up you can also modify this pose by doing a bridge pose.
- Lift your hips up so that your body is parallel with the ground.
- Press your hands down on the ground and lift your hips up.
- Hold for 5-10 breaths.
Related: 10 Budget-Friendly Yoga Mats to Buy Now
Advanced Yoga Poses
Yoga masters and teachers have developed some of the most advanced yoga poses for the most dedicated students. These poses require a high level of flexibility, strength, and balance. This means that you have worked through both beginners and intermediate yoga poses already.
1. Plank Pose (Kumbhakasana)
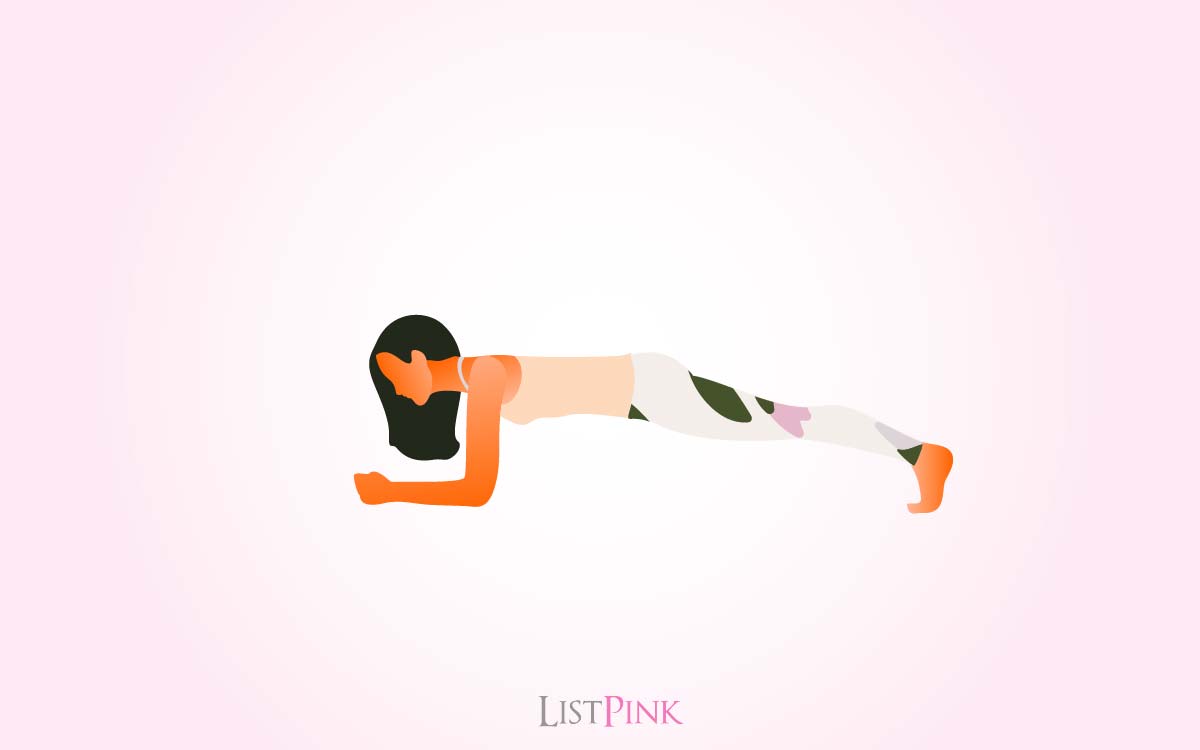
Plank pose is an excellent beginner yoga pose that builds strength in your core. It is a good introductory pose for those who are just starting out in yoga. If you are more concerned about your abs, you can try these 5 yoga poses to strengthen and tone the abdomen.
How to do it
- Start by lying on your stomach with your forearms on the floor, palms placed shoulder-width apart.
- Engage your abdominals and lift your body off the ground.
- Hold for 10-30 seconds and release.
- Repeat 3-5 times.
2. Upward-Facing Dog (Urdhva Mukha Svanasana)
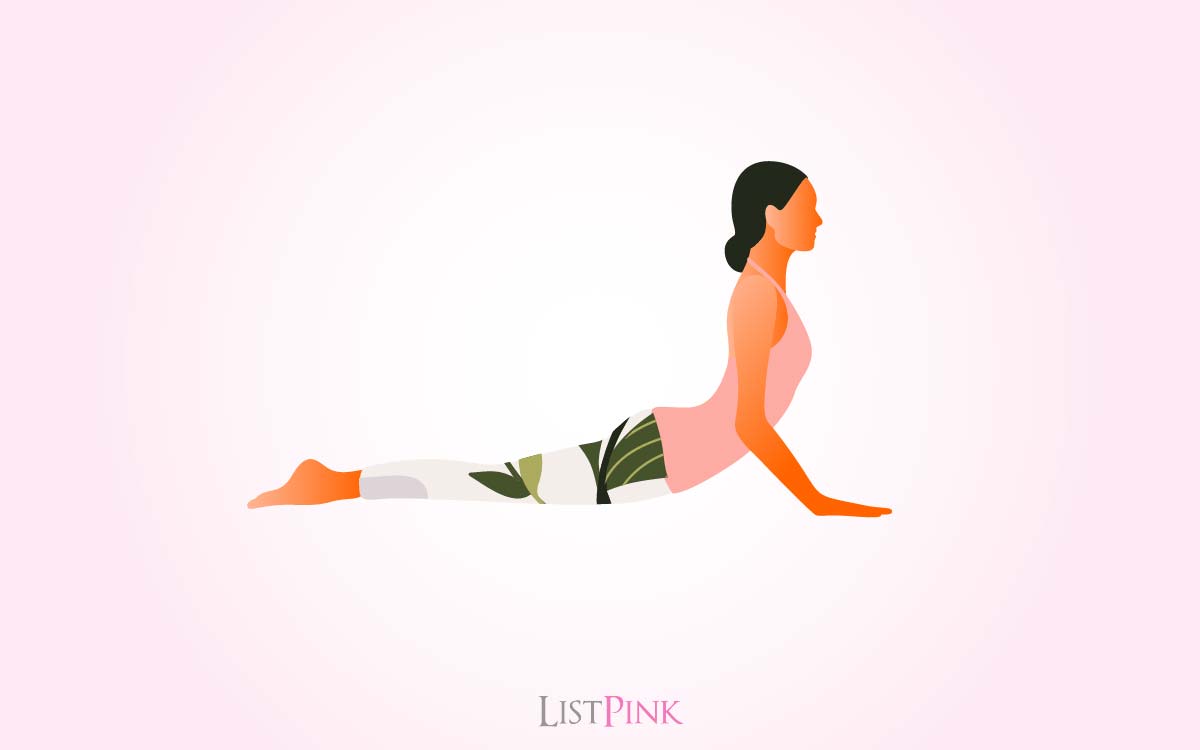
This is one of the best yoga poses to stretch the spine, shoulders, and hamstrings.
How to do:
- Start by lying on the floor, face down, knees bent with feet flat on the floor.
- Place your palms down on the floor alongside your torso with fingers pointing towards your pelvis.
- Inhale and push through your palms and heels to lift your torso and legs off the floor.
- Your hands and feet should be flat on the floor, with your arms shoulder-distance apart and your legs hip-distance apart.
- Straighten your arms and legs, and try to get your shoulders stacked over your wrists and your hips over your knees.
- Lift your head and chest, and look straight ahead.
- Hold for 10 breaths.
3. Lotus Pose (Padmasana)
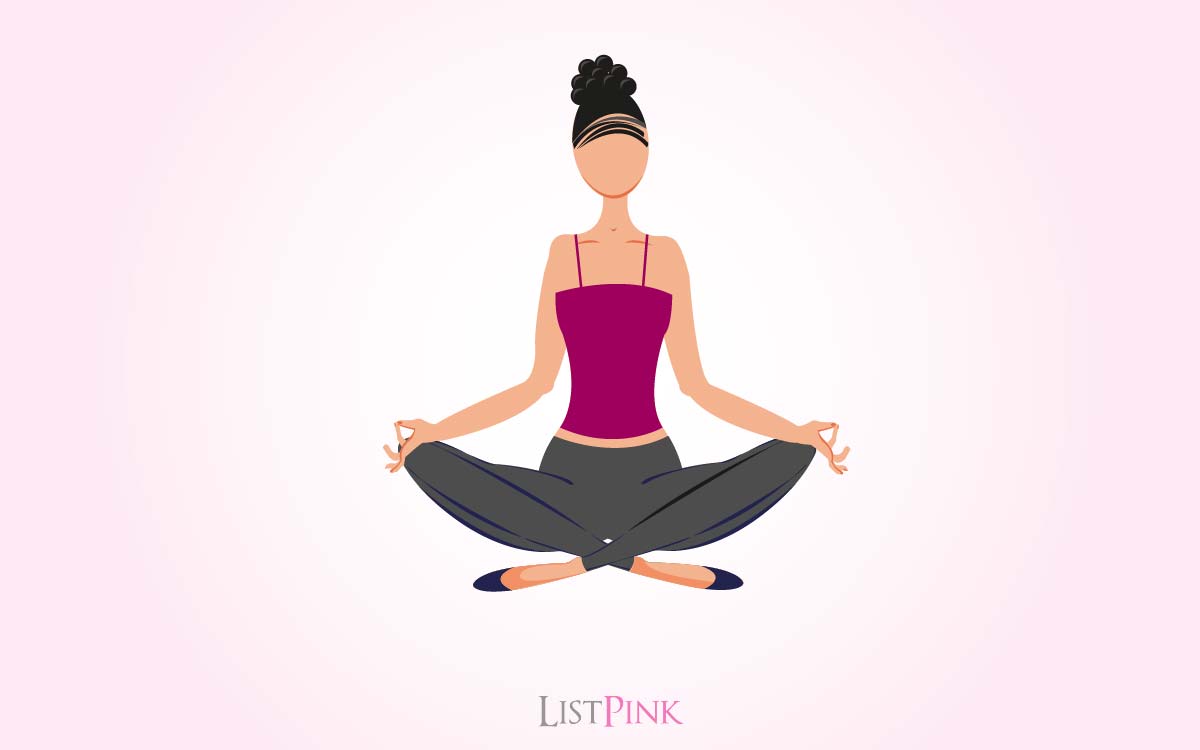
This is a seated yoga pose that is often used in meditation and is said to help calm the mind.
How to do:
- Sit on the floor with legs out in front of you, feet flexed, and toes pointed.
- Place your left shinbone on top of your right thigh, and wrap your left foot around your right ankle.
- Then, cross your right shinbone over your left shinbone, with your right foot on top of your left ankle.
- Your left knee should be slightly bent, and your right knee should be fully extended.
- Place your palms on the ground on either side of your hips.
- Let your belly fall toward the ground and look over your nose.
- Stay in the pose for 3 to 5 minutes.
4. Warrior One (Virabhadrasana)
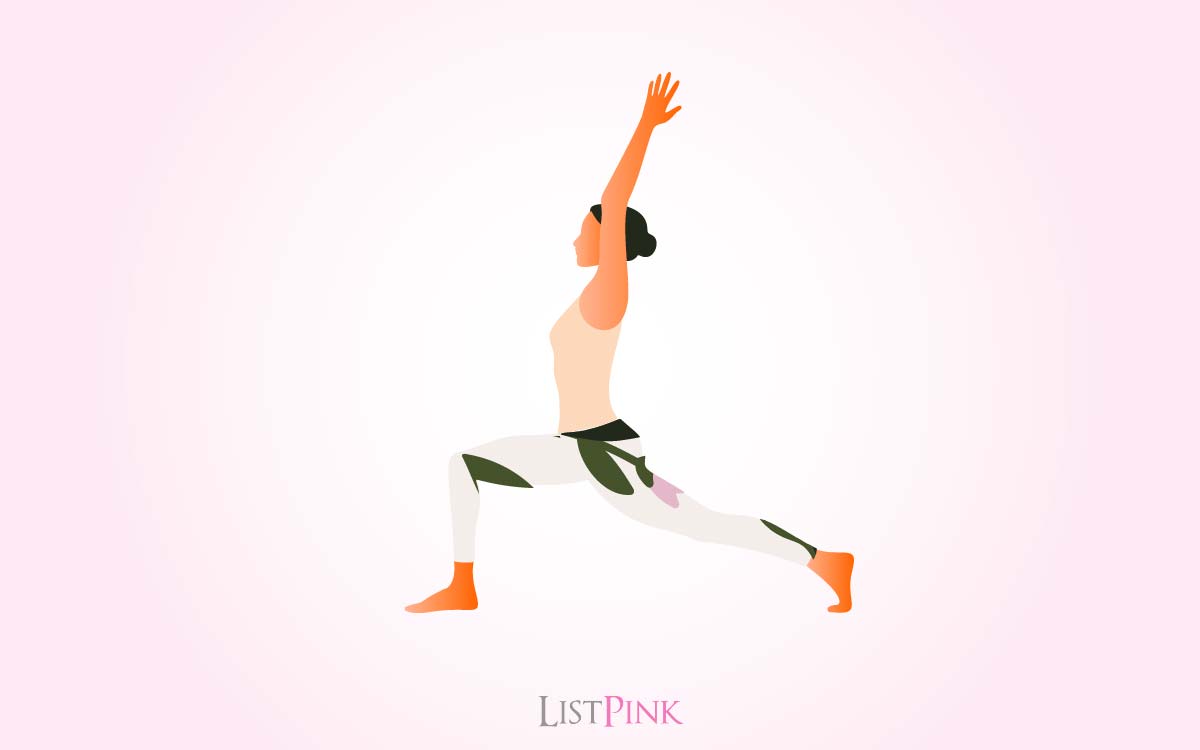
Warrior One is a standing balance pose that is beneficial for improving posture because it works to strengthen your abdominals. It helps to keep you centered and balanced. It is a balanced pose that requires strength and flexibility in the legs, hips, and shoulders.
How to do it
- Start by standing in a mountain pose.
- Raise your arms in front of you and slowly bring your left foot forward, pointing it to the left, with your right foot about two feet behind.
- Keep your arms up and keep your abdominals engaged.
- Hold for 5-10 breaths and repeat on the other side.
5. Warrior Two (Virabhadrasana)
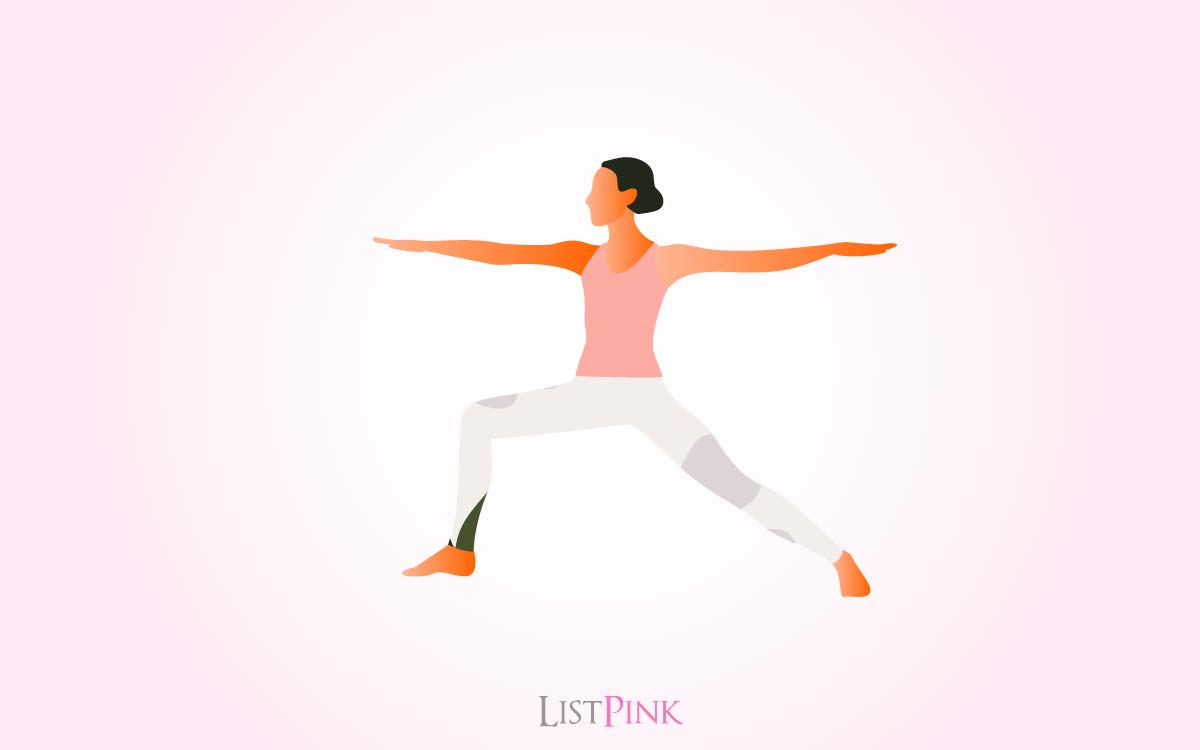
Warrior Two is similar to warrior one in that it requires a lot of strength and flexibility in the legs, hips, and shoulders. It is a great standing balance pose to do in the morning when you are feeling sluggish or you need a boost of energy. It is a powerful pose to start your day with.
How to do it
- Start in mountain pose with your hands in prayer.
- Raise your left hand up and bend your right knee.
- Bring your left leg out to the right and your right leg out to the left.
- Keep your abdominals engaged and your shoulders relaxed.
- Hold for 5-10 breaths then repeat on the other side.
6. Warrior Three Pose (Virabhadrasana)
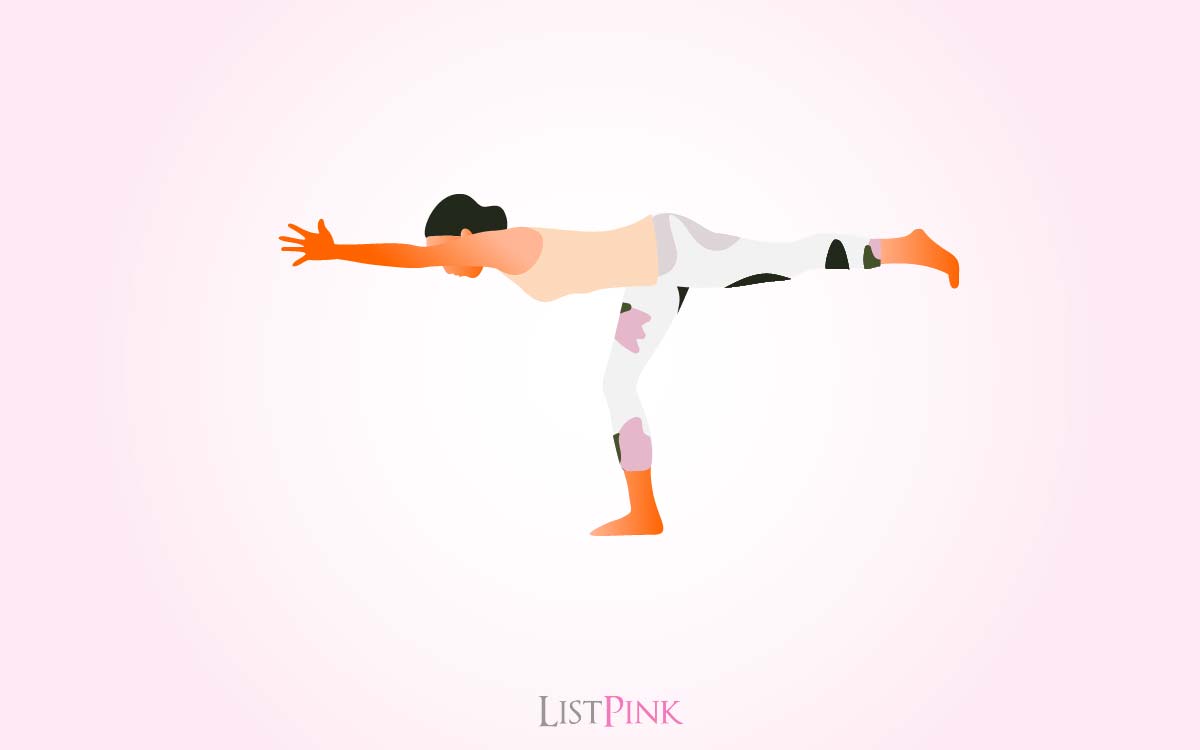
Warrior Three is a standing balance pose that requires flexibility in the legs, hips, and shoulders. It is a powerful pose that requires strength and is a great way to build strength in the legs.
How to do it
- Start in mountain pose with your hands in prayer.
- Raise your left hand up and bend your right knee.
- Lift your left leg high and bring your right leg out to the right.
- Keep your abdominals engaged and your shoulders relaxed.
- Hold for 5-10 breaths then repeat on the other side.
7. The Bridge Pose (Setu Bandhasana)
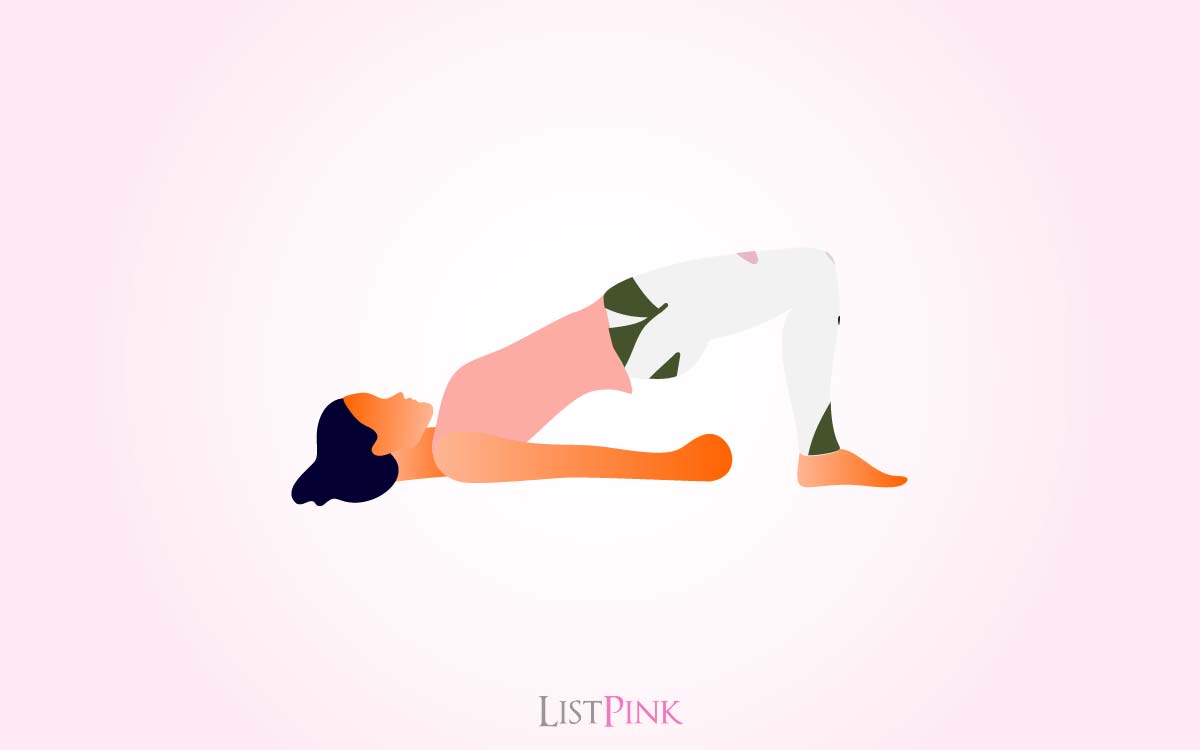
The bridge is a backbend that stretches and strengthens the spine. It is also a restful pose.
How to do it
- Lie on your back and rest your arms above your head, palms facing down.
- Bend your knees and place your feet on the floor, hip-width apart.
- Then put your shoulders directly over your hips and press down on your feet as you lift your hips.
- Try to keep your feet as close to the ground as possible.
- Press into your feet as you lift your hips and bridge your body.
- Hold for 5-10 breaths.
8. The Seated Forward Bend (Paschimottanasana)
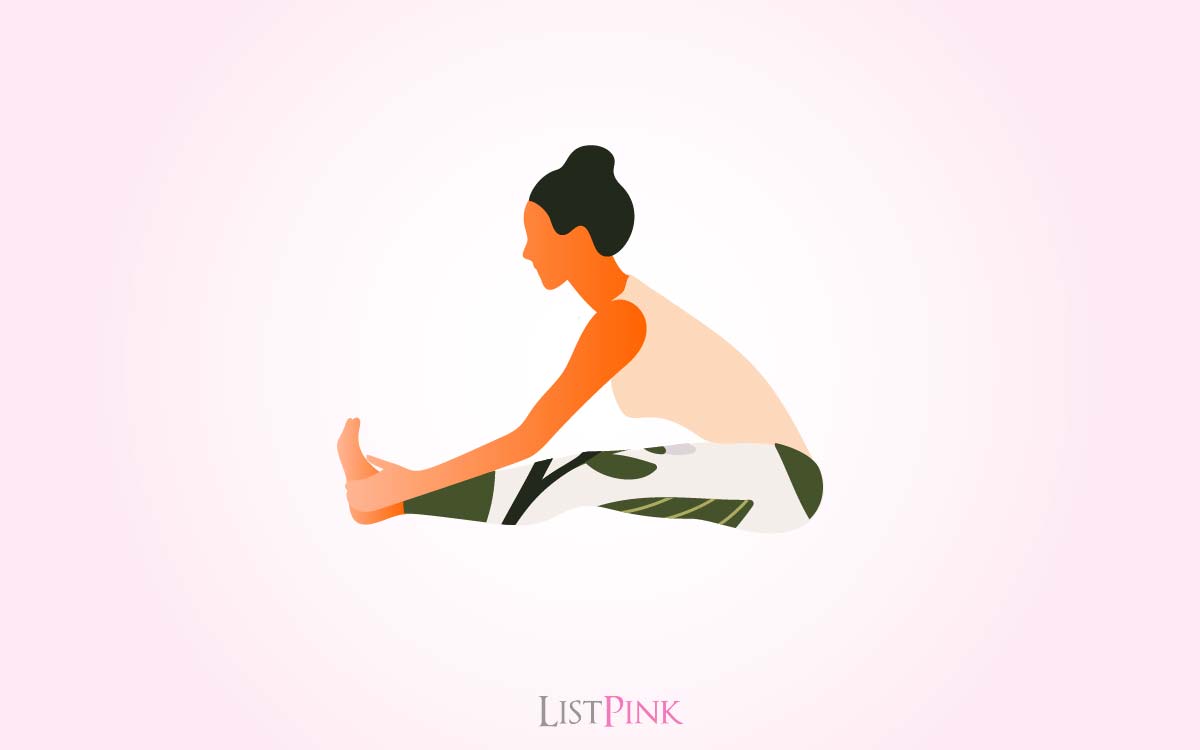
The seated forward bend is a seated forward bend that is used to stretch the back, legs, and arms? It is also used to promote digestion.
How to do it
- Sit on the floor with your legs straight and your feet together and pressing into the floor.
- Your back should be straight and your shoulders away from your ears.
- Then bring your hands behind you and grab the outside of your feet.
- Pull your feet toward you and hold for 5-10 breaths.
9. Triangle Pose (Trikonasana)
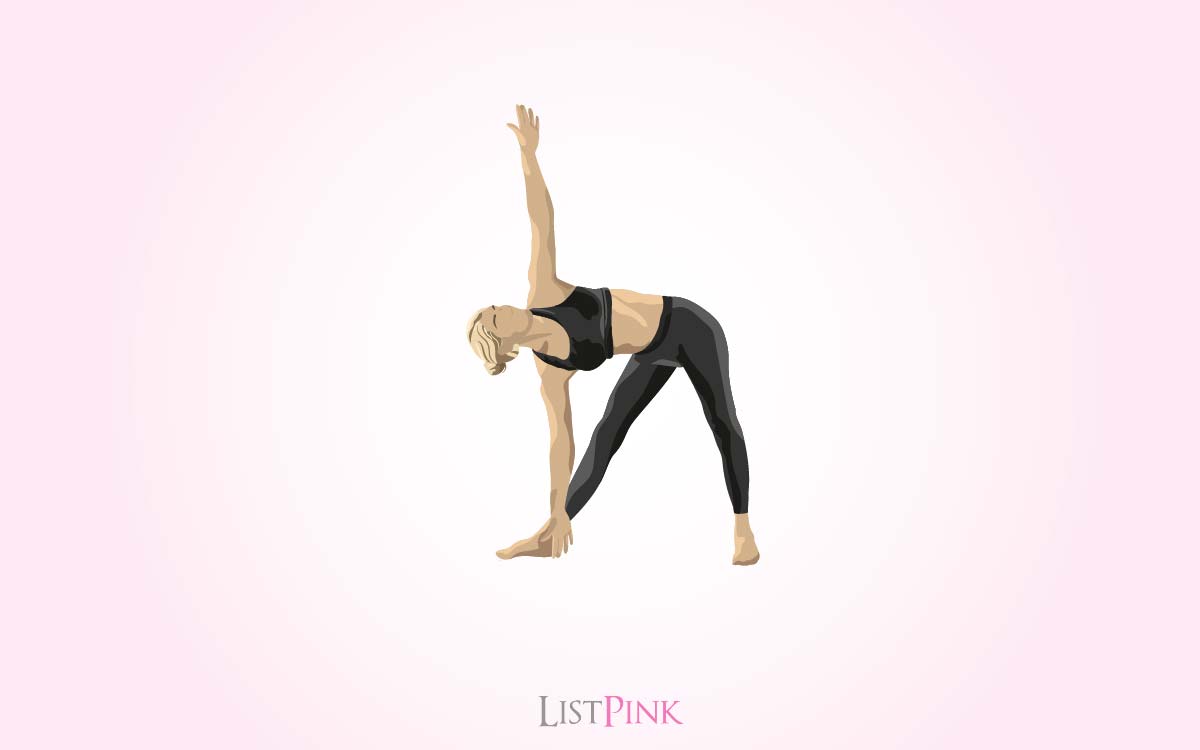
Triangle pose is a great pose to work on your balance and body alignment. It opens up the hips, groin, and shoulders.
How to do it
- Stand in mountain pose with feet together hip-width apart, and hands in prayer.
- Slowly shift your weight to your right leg.
- Reach your left hand to the sky, middle finger pointing to the ceiling, palm facing towards you.
- Reach your right arm to the sky, palm facing the ceiling, middle finger pointing to the sky.
- Make sure your front knee is pointing down towards the mat, and not out to the side. It should be over your ankle.
- Hold for 8-10 breaths and then repeat on the other side.
10. Shoulder stand (Salamba Sarvangasana)
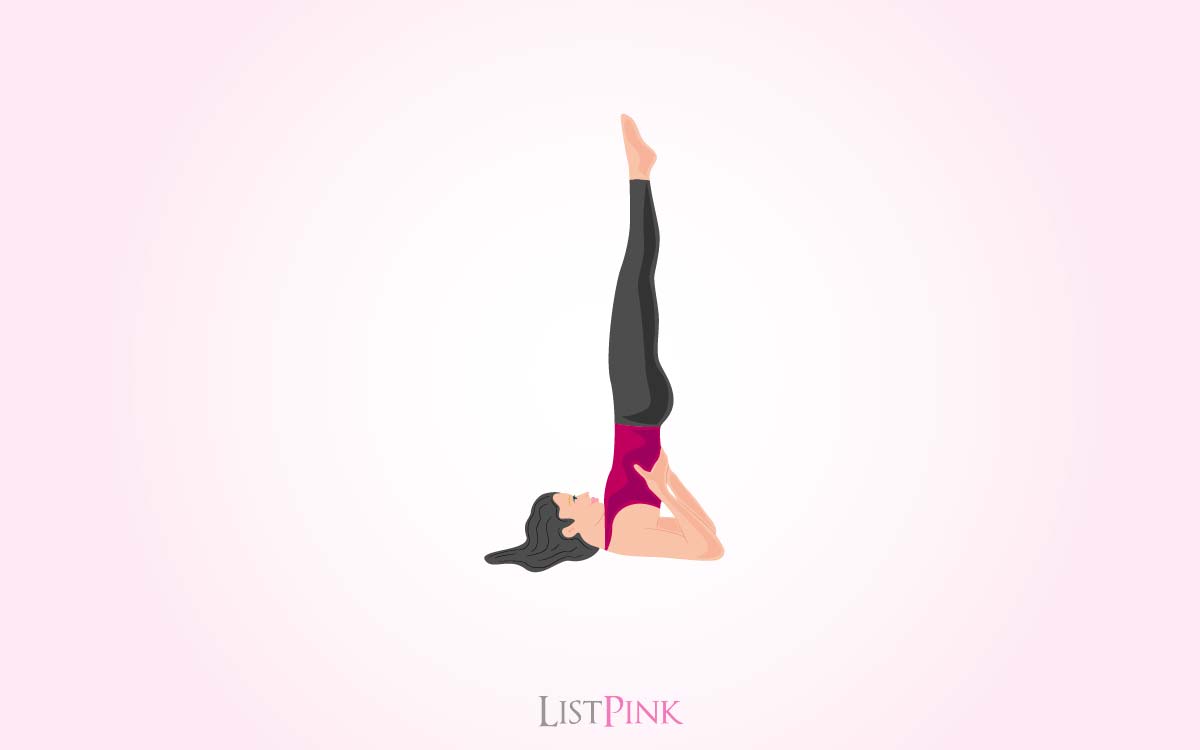
This pose is a great counter-pose to backbends. It helps to open the chest and shoulders after strenuous backbends.
How to do it
- Start by lying down on your back with your arms out to the sides with the palms facing up.
- Bend your knees and place your feet flat on the floor.
- Place your hands under your buttocks and your palms on your back.
- Engage your core and lift up your buttocks and hips.
- Once your back is completely straight, lift your hips and back off the floor.
- Continue to lift until your thighs are parallel to the floor and your knees are pointed towards the ceiling.
- Bring your arms above your head and interlace your fingers.
- If you are a beginner, you can place a small pillow or blanket behind your neck to support it.
- Hold for 2-5 minutes.
11. Downward Dog with Extended Leg (Anjaneyasana)
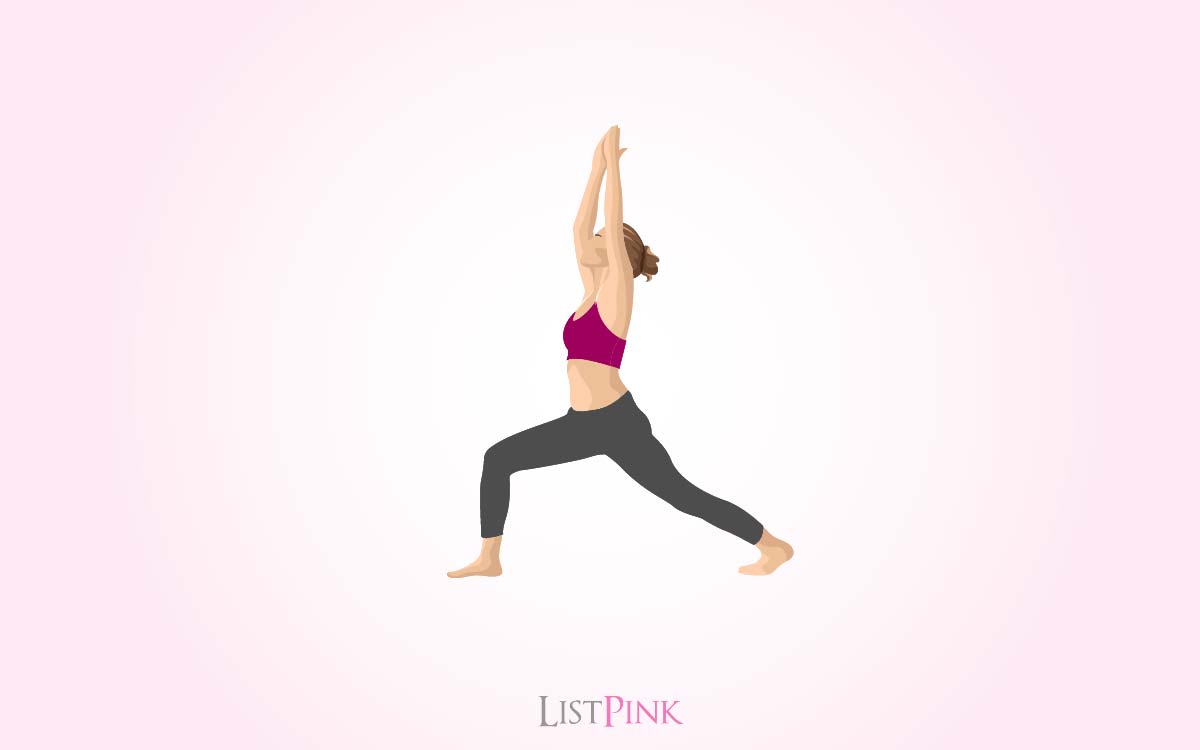
Anjaneyasana stretches the hamstrings and back. It is also known as Low Lunge and is a basic pose in yoga, meaning it can be used to stretch the hamstrings and back, as well as be used as a transition pose.
How to do it
- Come onto the floor on your hands and knees.
- With your hands slightly forward of your shoulders and knees below your hips.
- Spread your hands wide and press your index finger and thumb into your mat.
- Inhale and lift your right leg up so it is parallel with the floor, and bring the knee to the floor and press it into the mat.
- Straighten your leg and exhale as you press your hips forward and bring your body upright.
- Press your hands firmly on your mat and lean forward from your hips, arching your back.
- Hold for 5-10 breaths.
- Repeat on the other side.
12. Seated Spinal Twist
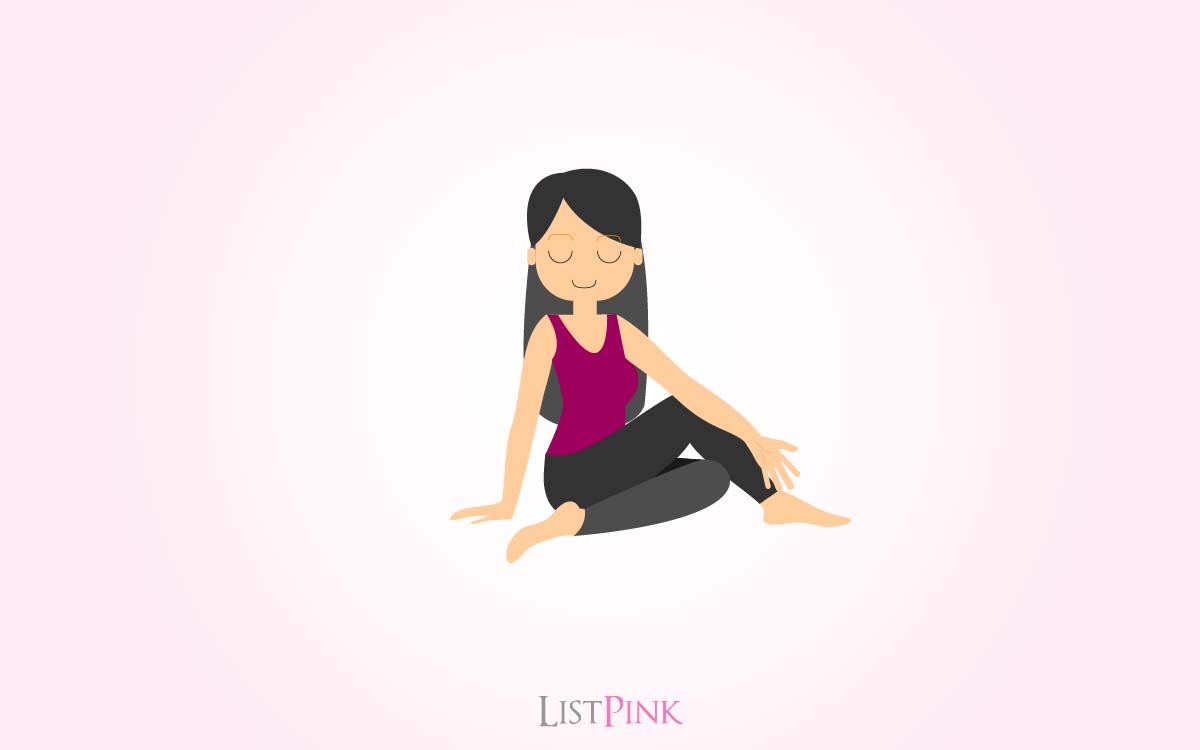
As the name suggests, seated spinal twists are a great way to stretch the spine.
- Sit on the floor with your legs out in front of you and your feet together.
- Exhale, and lean to the left, placing your left hand on the floor behind you.
- Lift your right arm over your shoulder and place your right hand on the floor to the right of your hips.
- Lean to the left and look over your right arm to intensify the twist.
- Hold for 5-10 breaths, then repeat on the opposite side.
13. Pyramid Pose (Parsvottanasana)
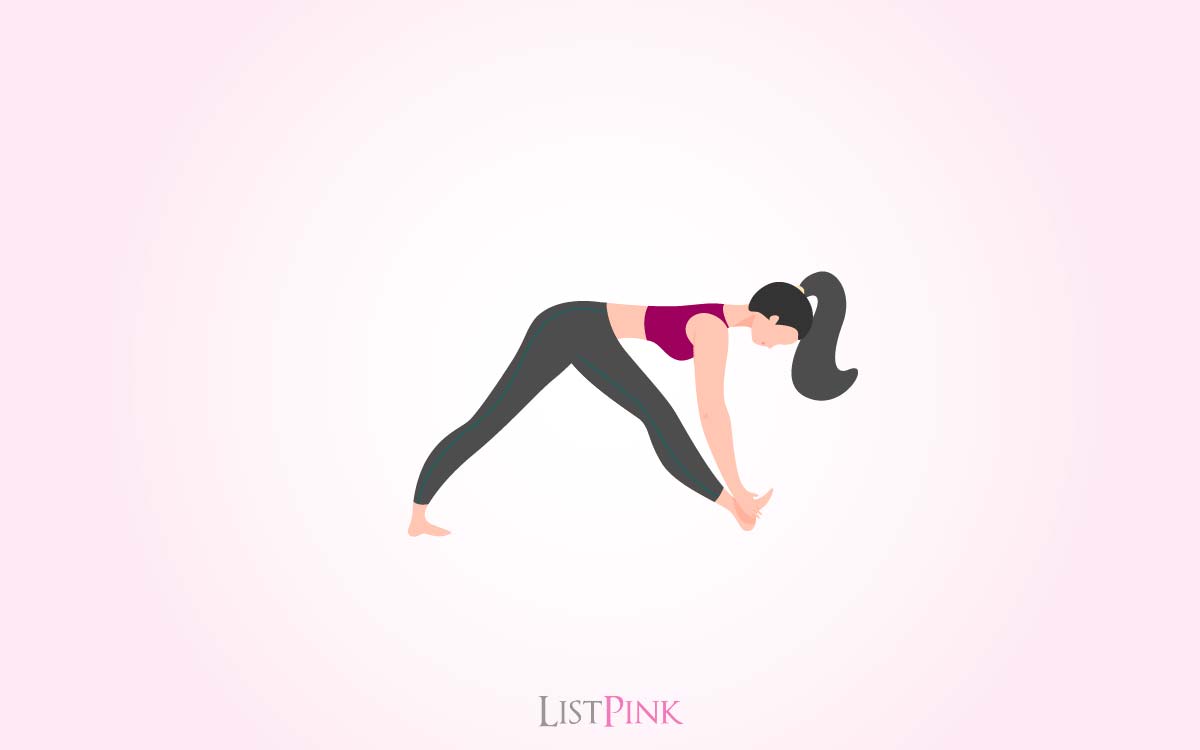
A pyramid Pose is a standing pose where the body is in one line and the legs are straight. It works on the stability of the legs and ankles. It’s a great pose for overall leg health and strength.
How to do it
- Stand straight and tall.
- Exhale your hands by your sides.
- Allow your arms to relax down by your sides.
- Inhale, then exhale as you raise your arms straight up over your head with your palms facing outward toward the sky.
- Point your fingers toward the sky and spread your fingers wide as you bring them toward the sky.
- Turn your palms toward the sky.
- Hold for 10-15 breaths, then slowly bring your hands down.
14. Wheel Pose (Urdhva Dhanurasana)
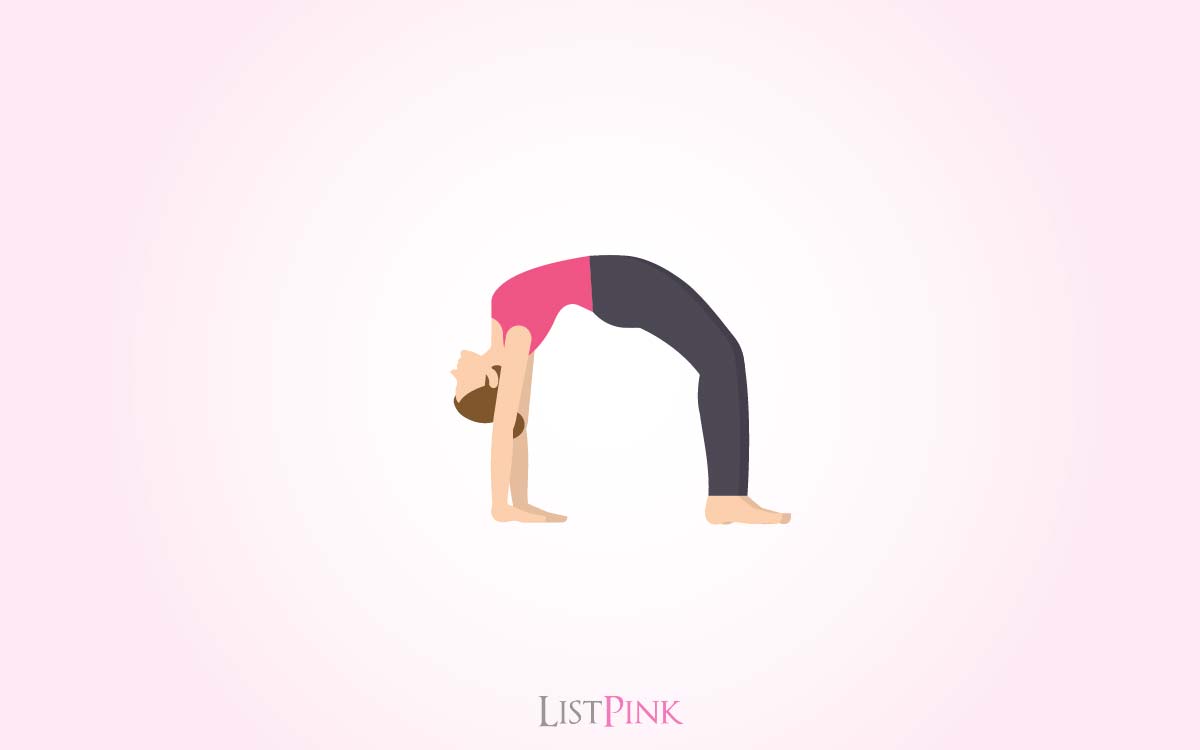
This is such an amazing backbend that helps to open up your chest and shoulders. It stretches your hamstrings, which are important in this pose. It is a very advanced pose and you should practice it slowly and mindfully.
How to do it
- Start with your hands and knees on the ground and your palms flat on the ground under your shoulders.
- Bend your elbows and place your hands on the ground behind you just above your hips.
- Exhale and begin to lift your hips up to the ceiling and bring the top of your head to the ground.
- Keep your hands where they are and slide your hands out as your body begins to lift up.
- Keep your abdominals engaged and your spine long.
- Hold for 5-10 breaths and then slowly lower down.
15. Balancing Half Forward Bend (Ardha Uttanasana)
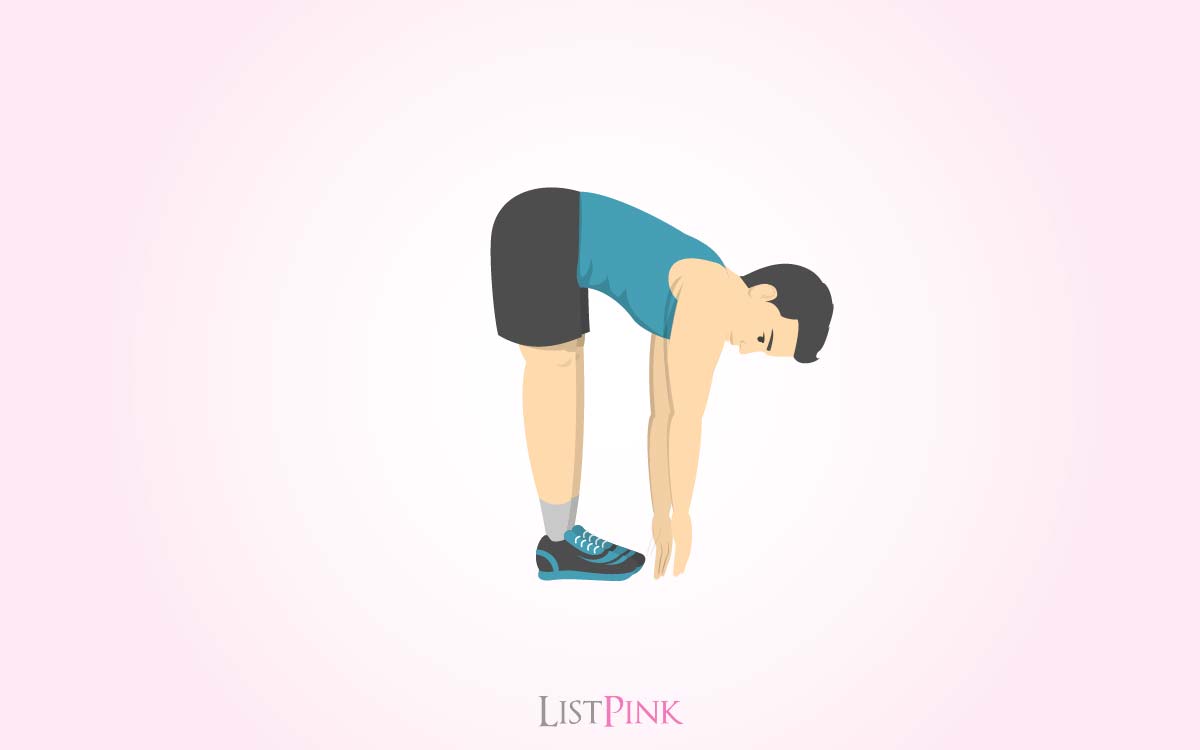
Balancing Half Forward Bend is a great pose that helps to stretch your back and hamstrings. It is a wonderful pose to do when you are feeling stressed or overwhelmed because it helps to calm you down by stretching out your body.
How to do it
- Stand with your feet about 3 feet apart.
- Place your hands on your hips and lean your body forward.
- Keep your hands on your hips and your abdominals engaged.
- Try not to let your hands touch the ground.
- Hold for 5-10 breaths and then slowly lower down.
16. Twisting Half Forward Bend (Ardha Matsyendrasana)
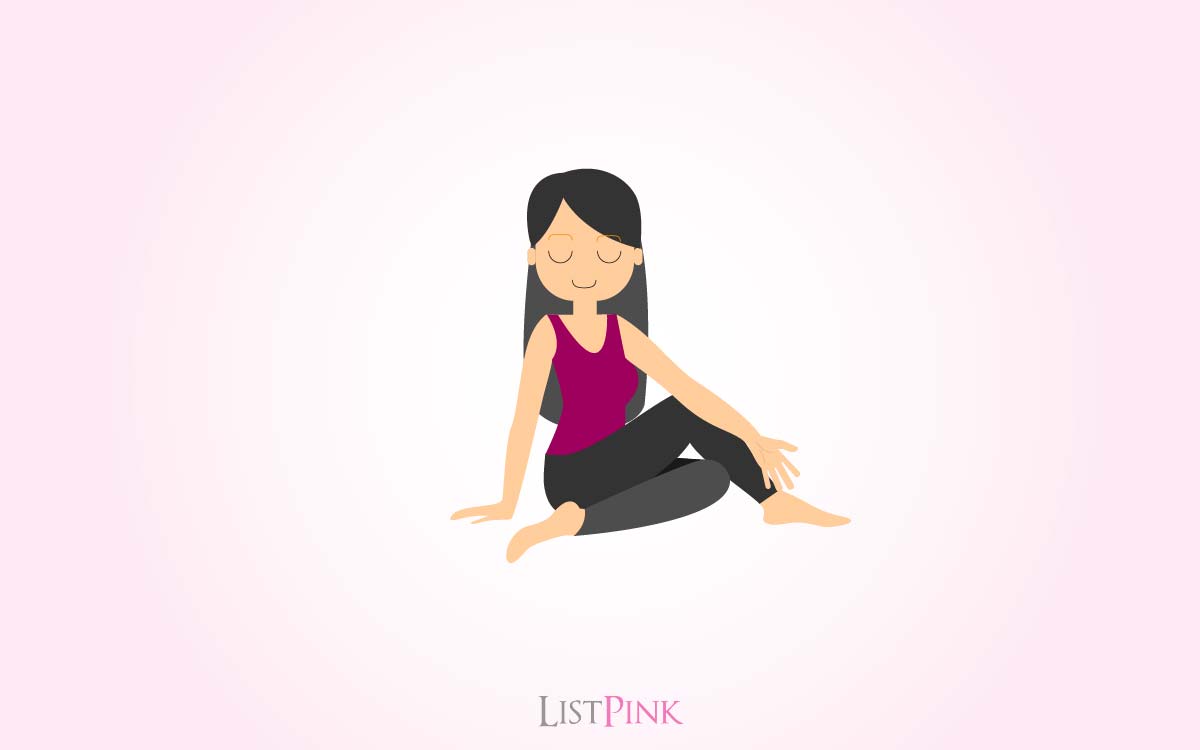
Twisting Half Forward Bend is a wonderful pose to do when you are feeling restless and anxious. It is a simple twist that is great for your lower back and hip flexors.
How to do it
- Stand with your feet about 3 feet apart.
- Bend your knees slightly and place your hands on your hips.
- Keeping your hands on your hips, lean forwards, and exhale.
- As you exhale, begin to twist to your left and place your right hand on your left knee.
- Try to keep your shoulders facing forward and your spine long.
- Hold for 5-10 breaths and then slowly lower down.
- Repeat on the other side.
17. Crescent Lunge (Anjaneyasana)
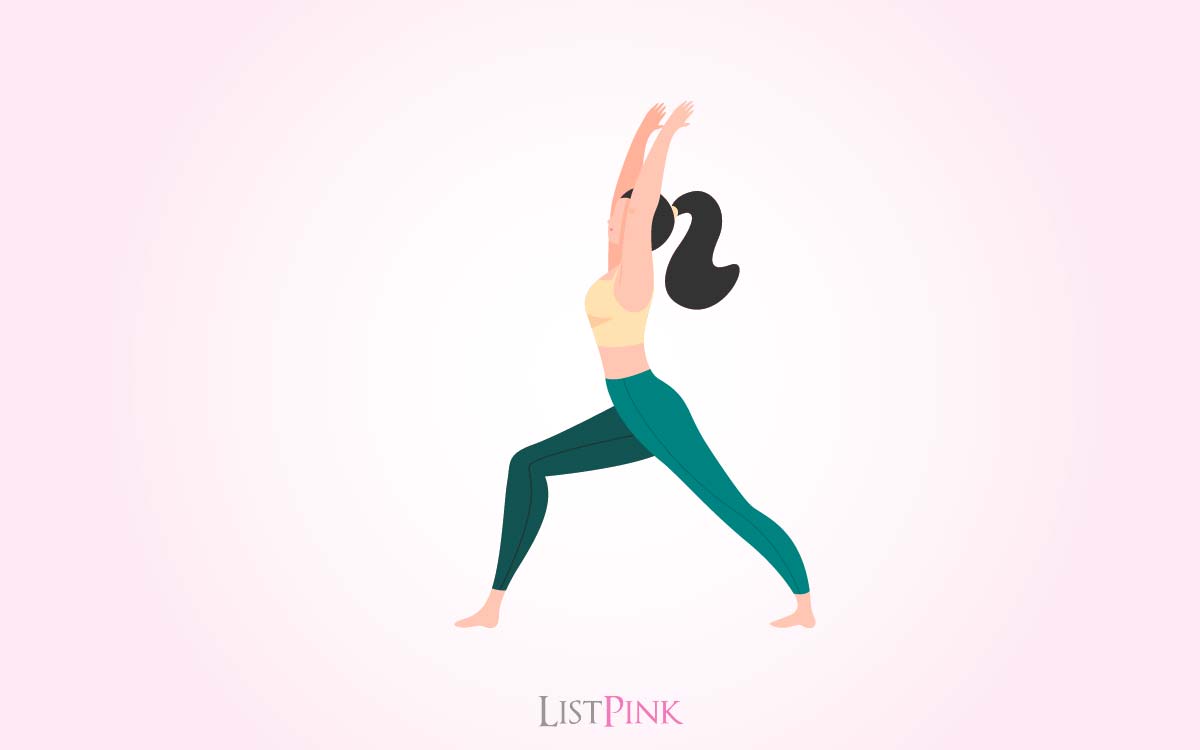
Crescent Lunge is a great pose to do if you are looking to strengthen your legs or stretch your hips. It is a combination of warrior one, and triangle pose.
How to do:
- Start in warrior one and slowly lower your knee to the ground.
- Keep your back leg straight and your front leg bent.
- Keep your abdominals engaged and your shoulders relaxed.
- Hold for 5-10 breaths then repeat on the other side.
- If you’re a beginner, it is ok to stay in the top position for the entire time.
- If you are more advanced, you can lower your body to the ground and hold the pose.
- You can also add a twist to it if you are advanced
18. Extended Side Angle Pose (Utthita Parsvakonasana)
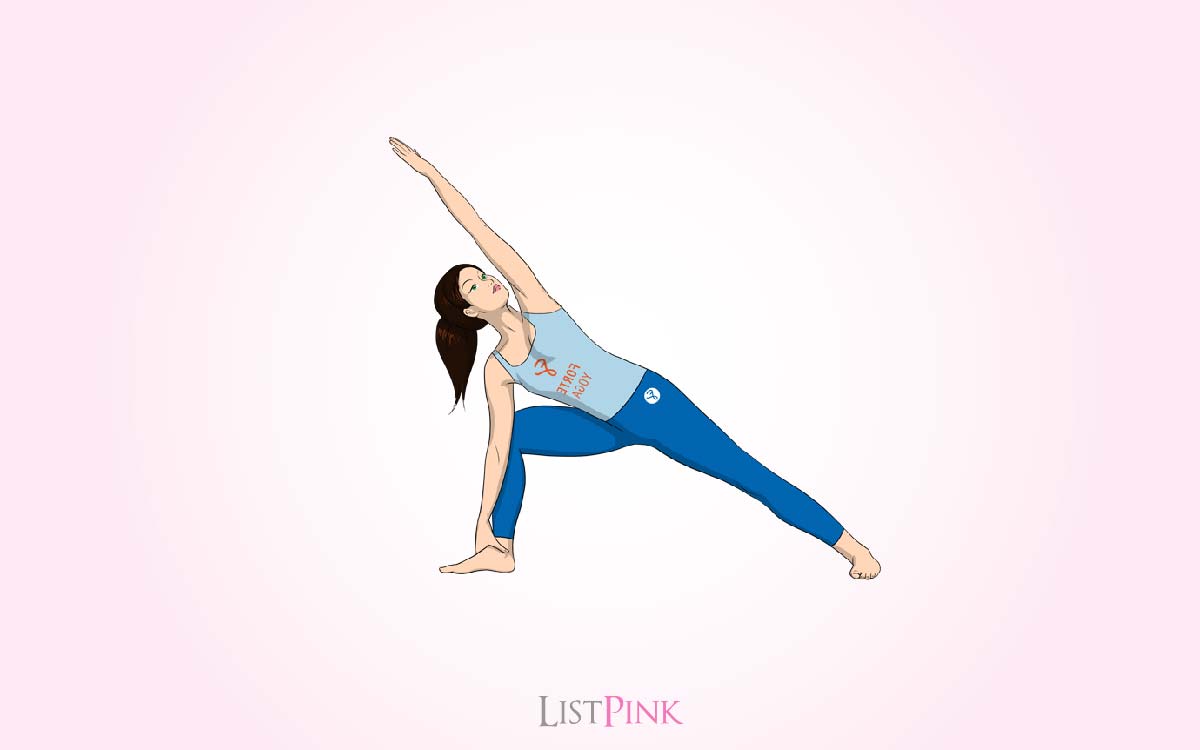
An extended side angle pose is a side-stretching pose that will help you open up your side body and open up your chest.
How to do:
- Start with your hands next to your feet and step your right foot to the right.
- Turn your torso to the right and extend your left arm straight up.
- Turn your head to the left and hold for 5-10 breaths.
- Repeat on the other side.
So, these were 40 of the great yoga poses for stress relief and physical fitness. The important thing about any physical activity is consistency and determination. You are expected to go step-by-step and take the sessions on a regular basis. Wish you good physical health and peace of mind.
